Testing and Comparing Relief Printing Surfaces
When it comes to relief printing, linoleum is traditionally seen as the obvious choice of cutting surface (apart from wood). There are many alternative surfaces on the market, but have they managed to offer something new or is it worth sticking to what you already know?
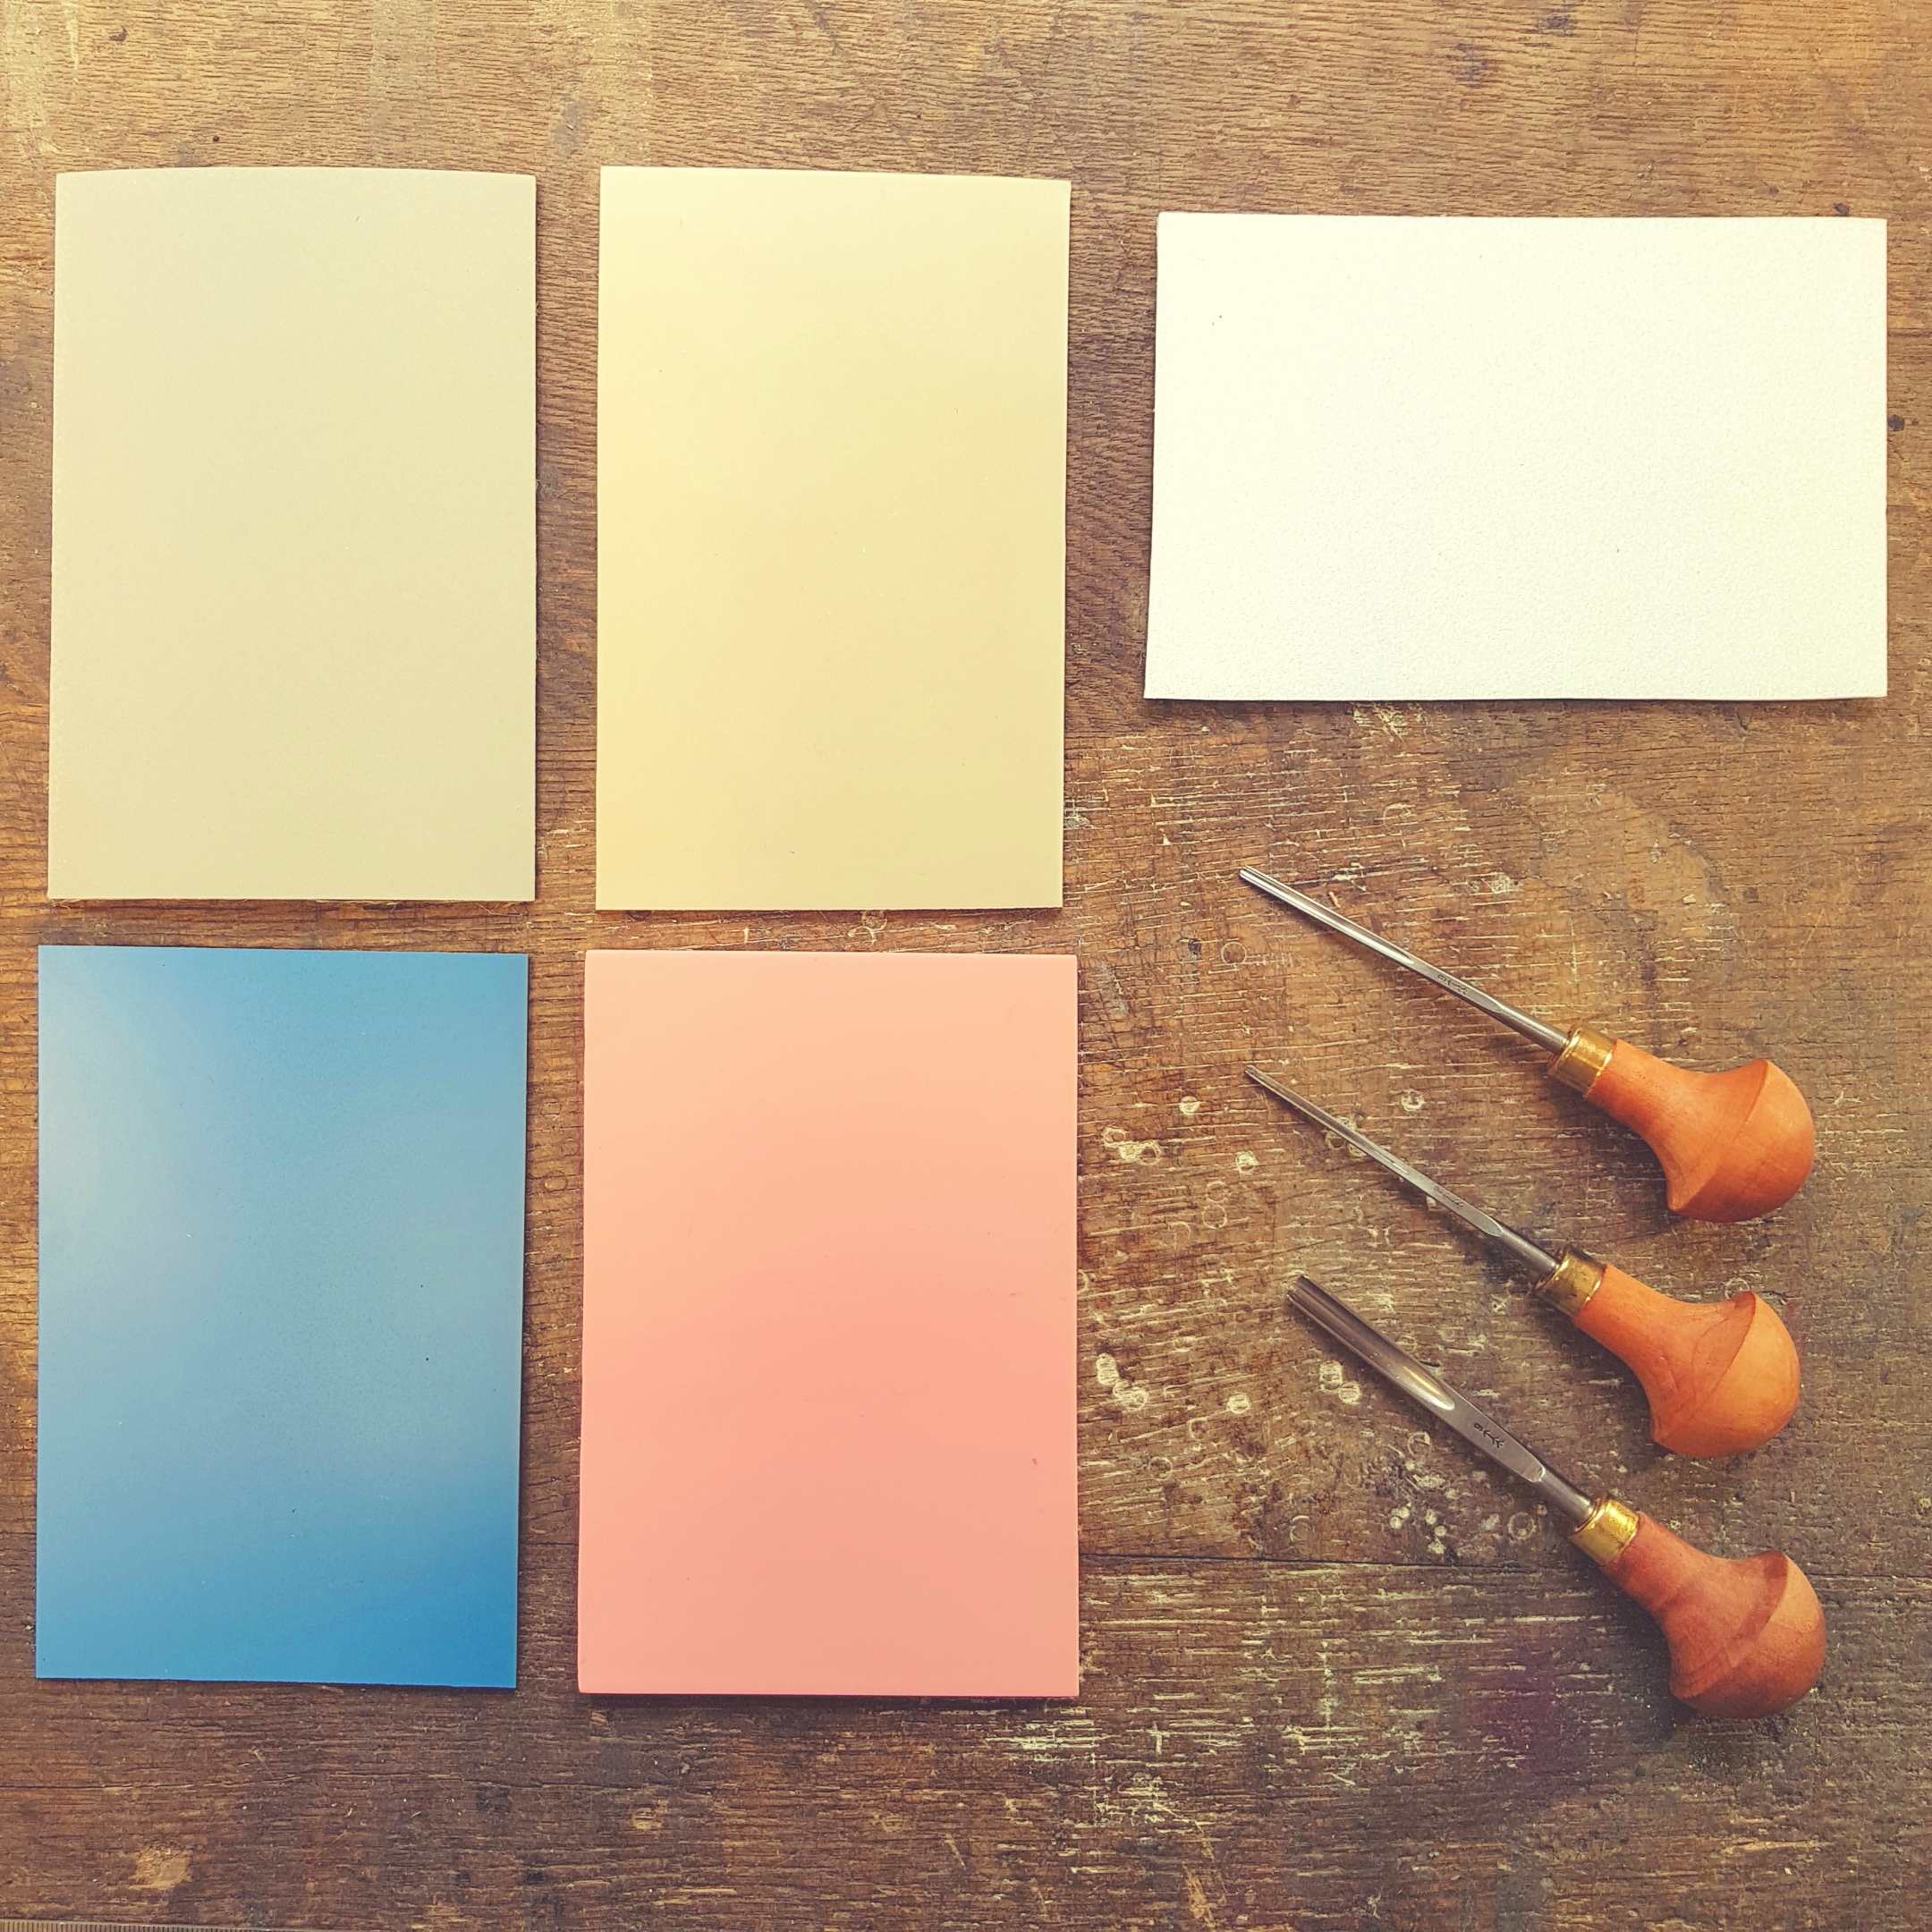
This month we set out to do a little experiment with our relief printing surfaces. I will be testing traditional lino, Japanese vinyl, Speedball's Speedy-Carve, SoftCut and Quickprint blocks using the same design and our Professional Tofko press to see which one performs the best.
1. Materials, Design and Image Transfer
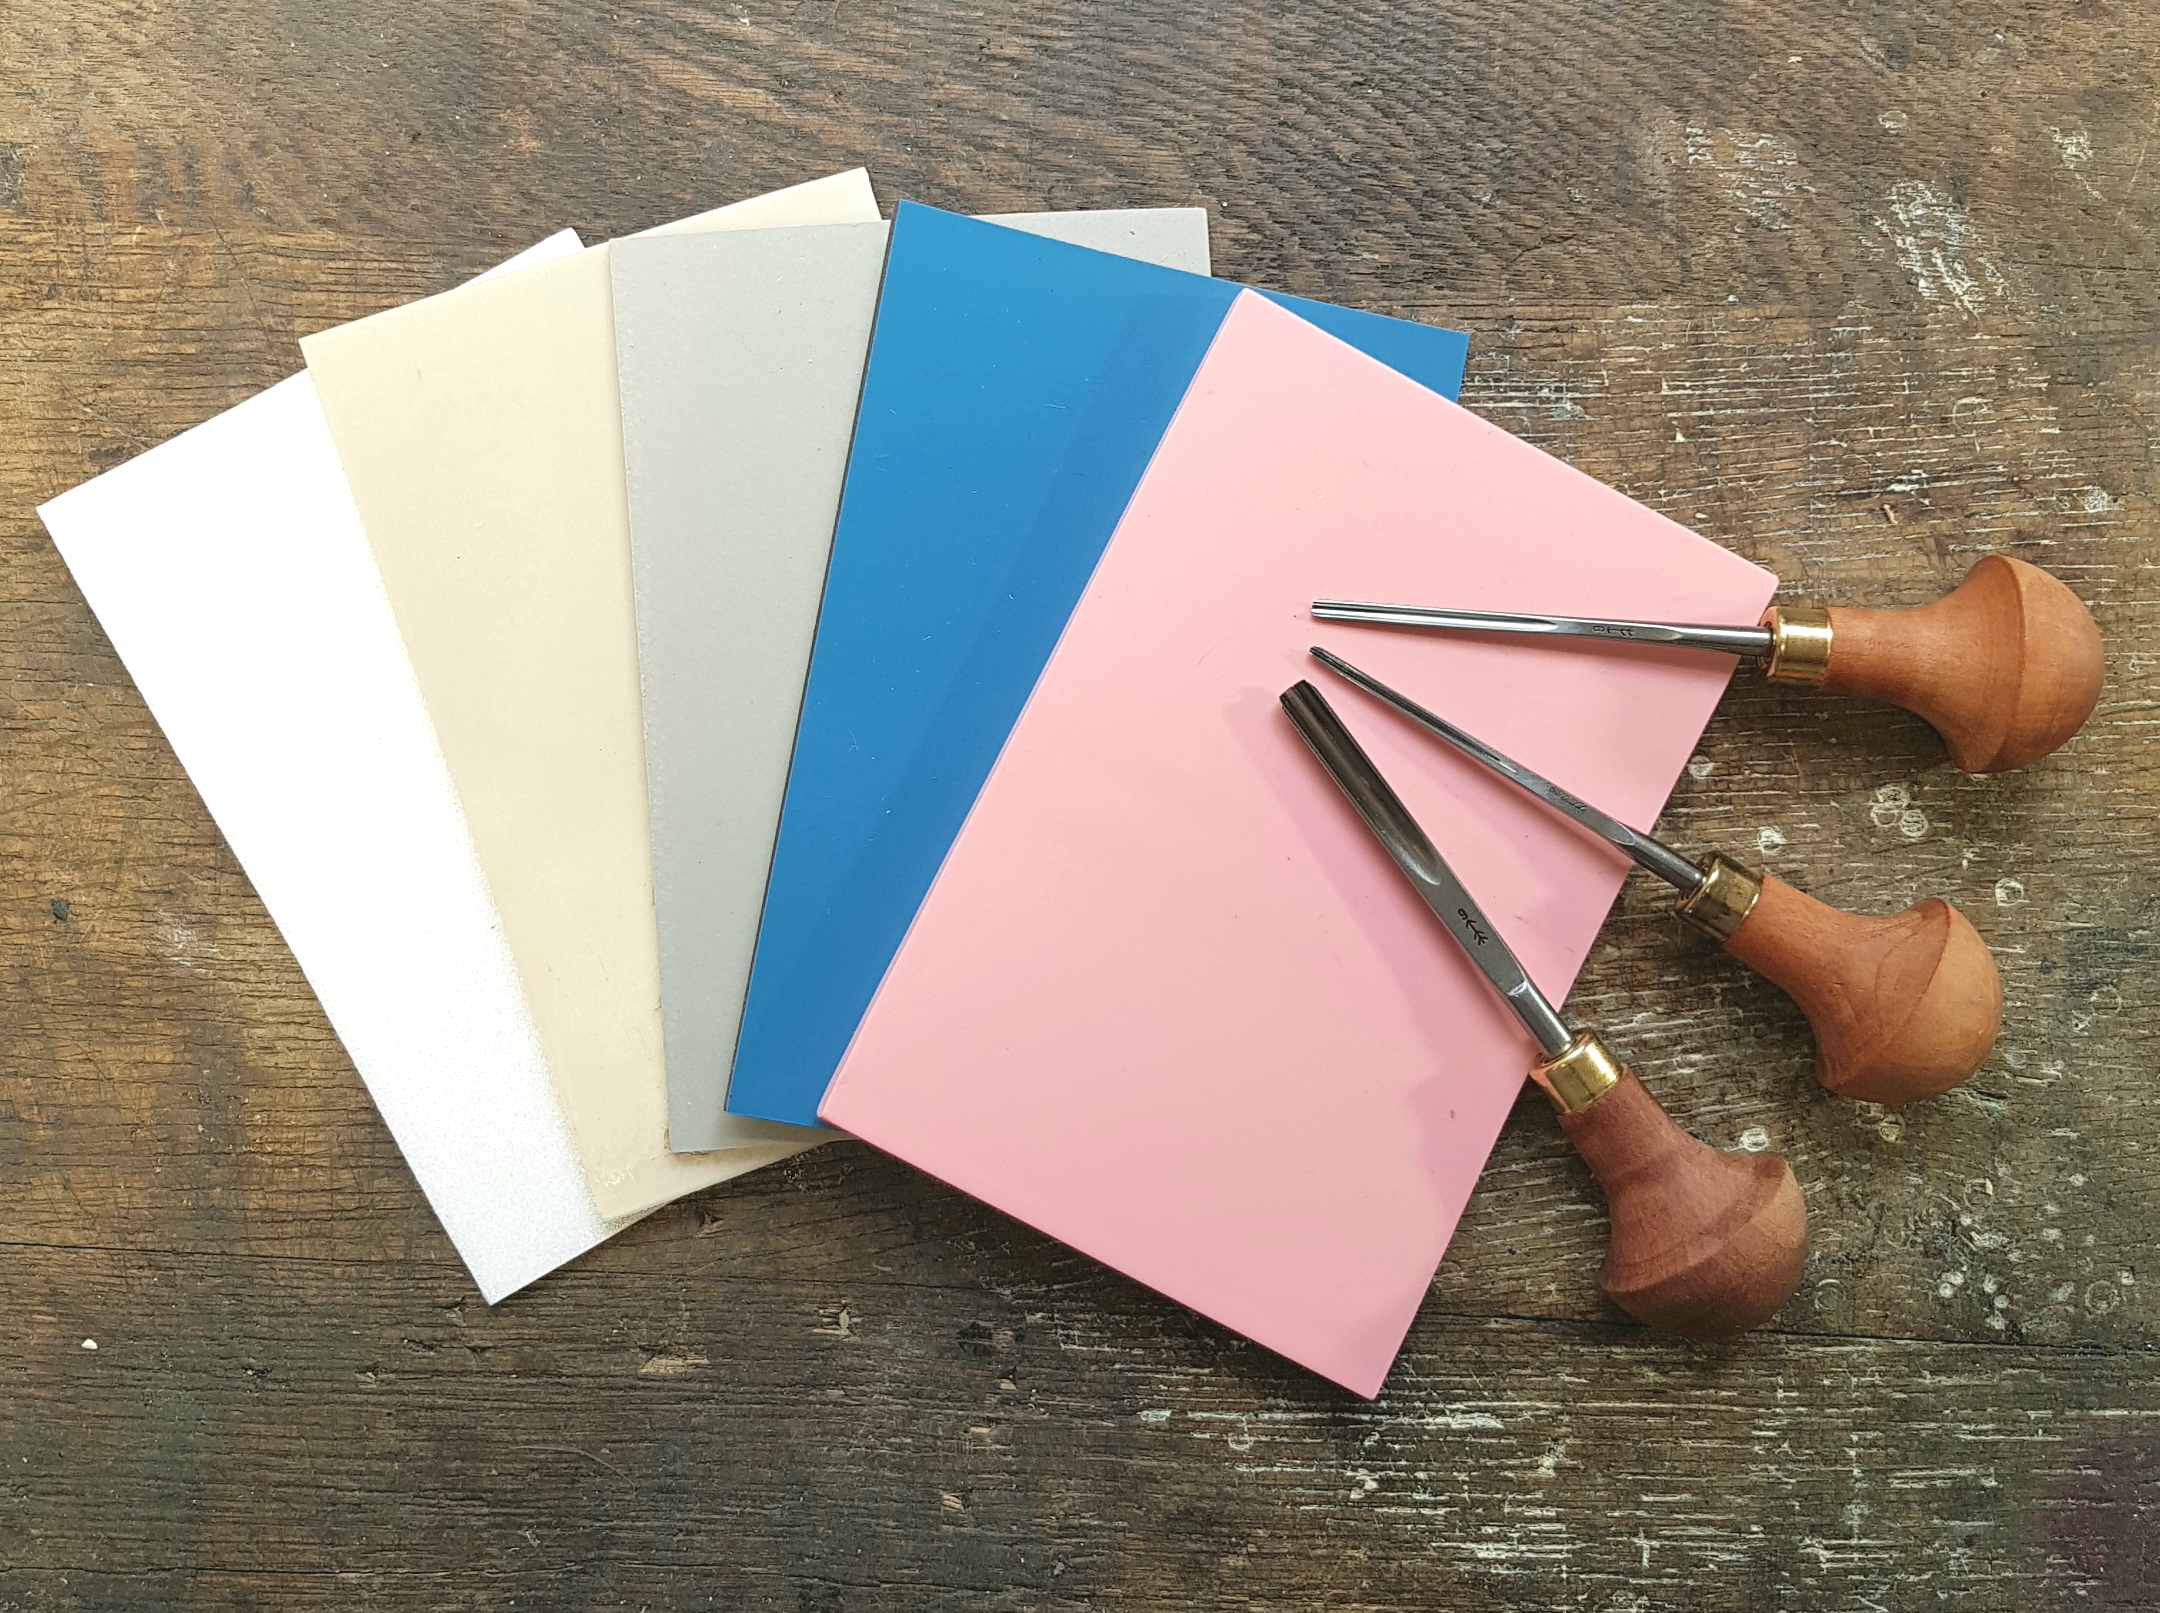
Tools used: Pfeil 12/1, 9/2 and 9/5
I selected 5 blocks in 10 x 15 cm size and 3 Pfeil relief tools. To give the blocks a fair treatment, I used the same design that also included some small details. I decided on the Lawrence logo which I drew on Snowdon Cartridge paper and then reversed with a handy light box app on my phone. Now I had the image on one side and its reverse on the other side of the paper. (You have to work in reverse when you are printing letters to make sure your design will print as intended.)

I covered the original image with graphite which essentially turned the sheet into transfer paper. I then laid it down onto the first block and traced the reversed side which transferred the design onto the block. This is a neat trick I learned from colleague and printmaker Georgia Flowers and, whilst you can use transfer paper too, I would always choose trickery!
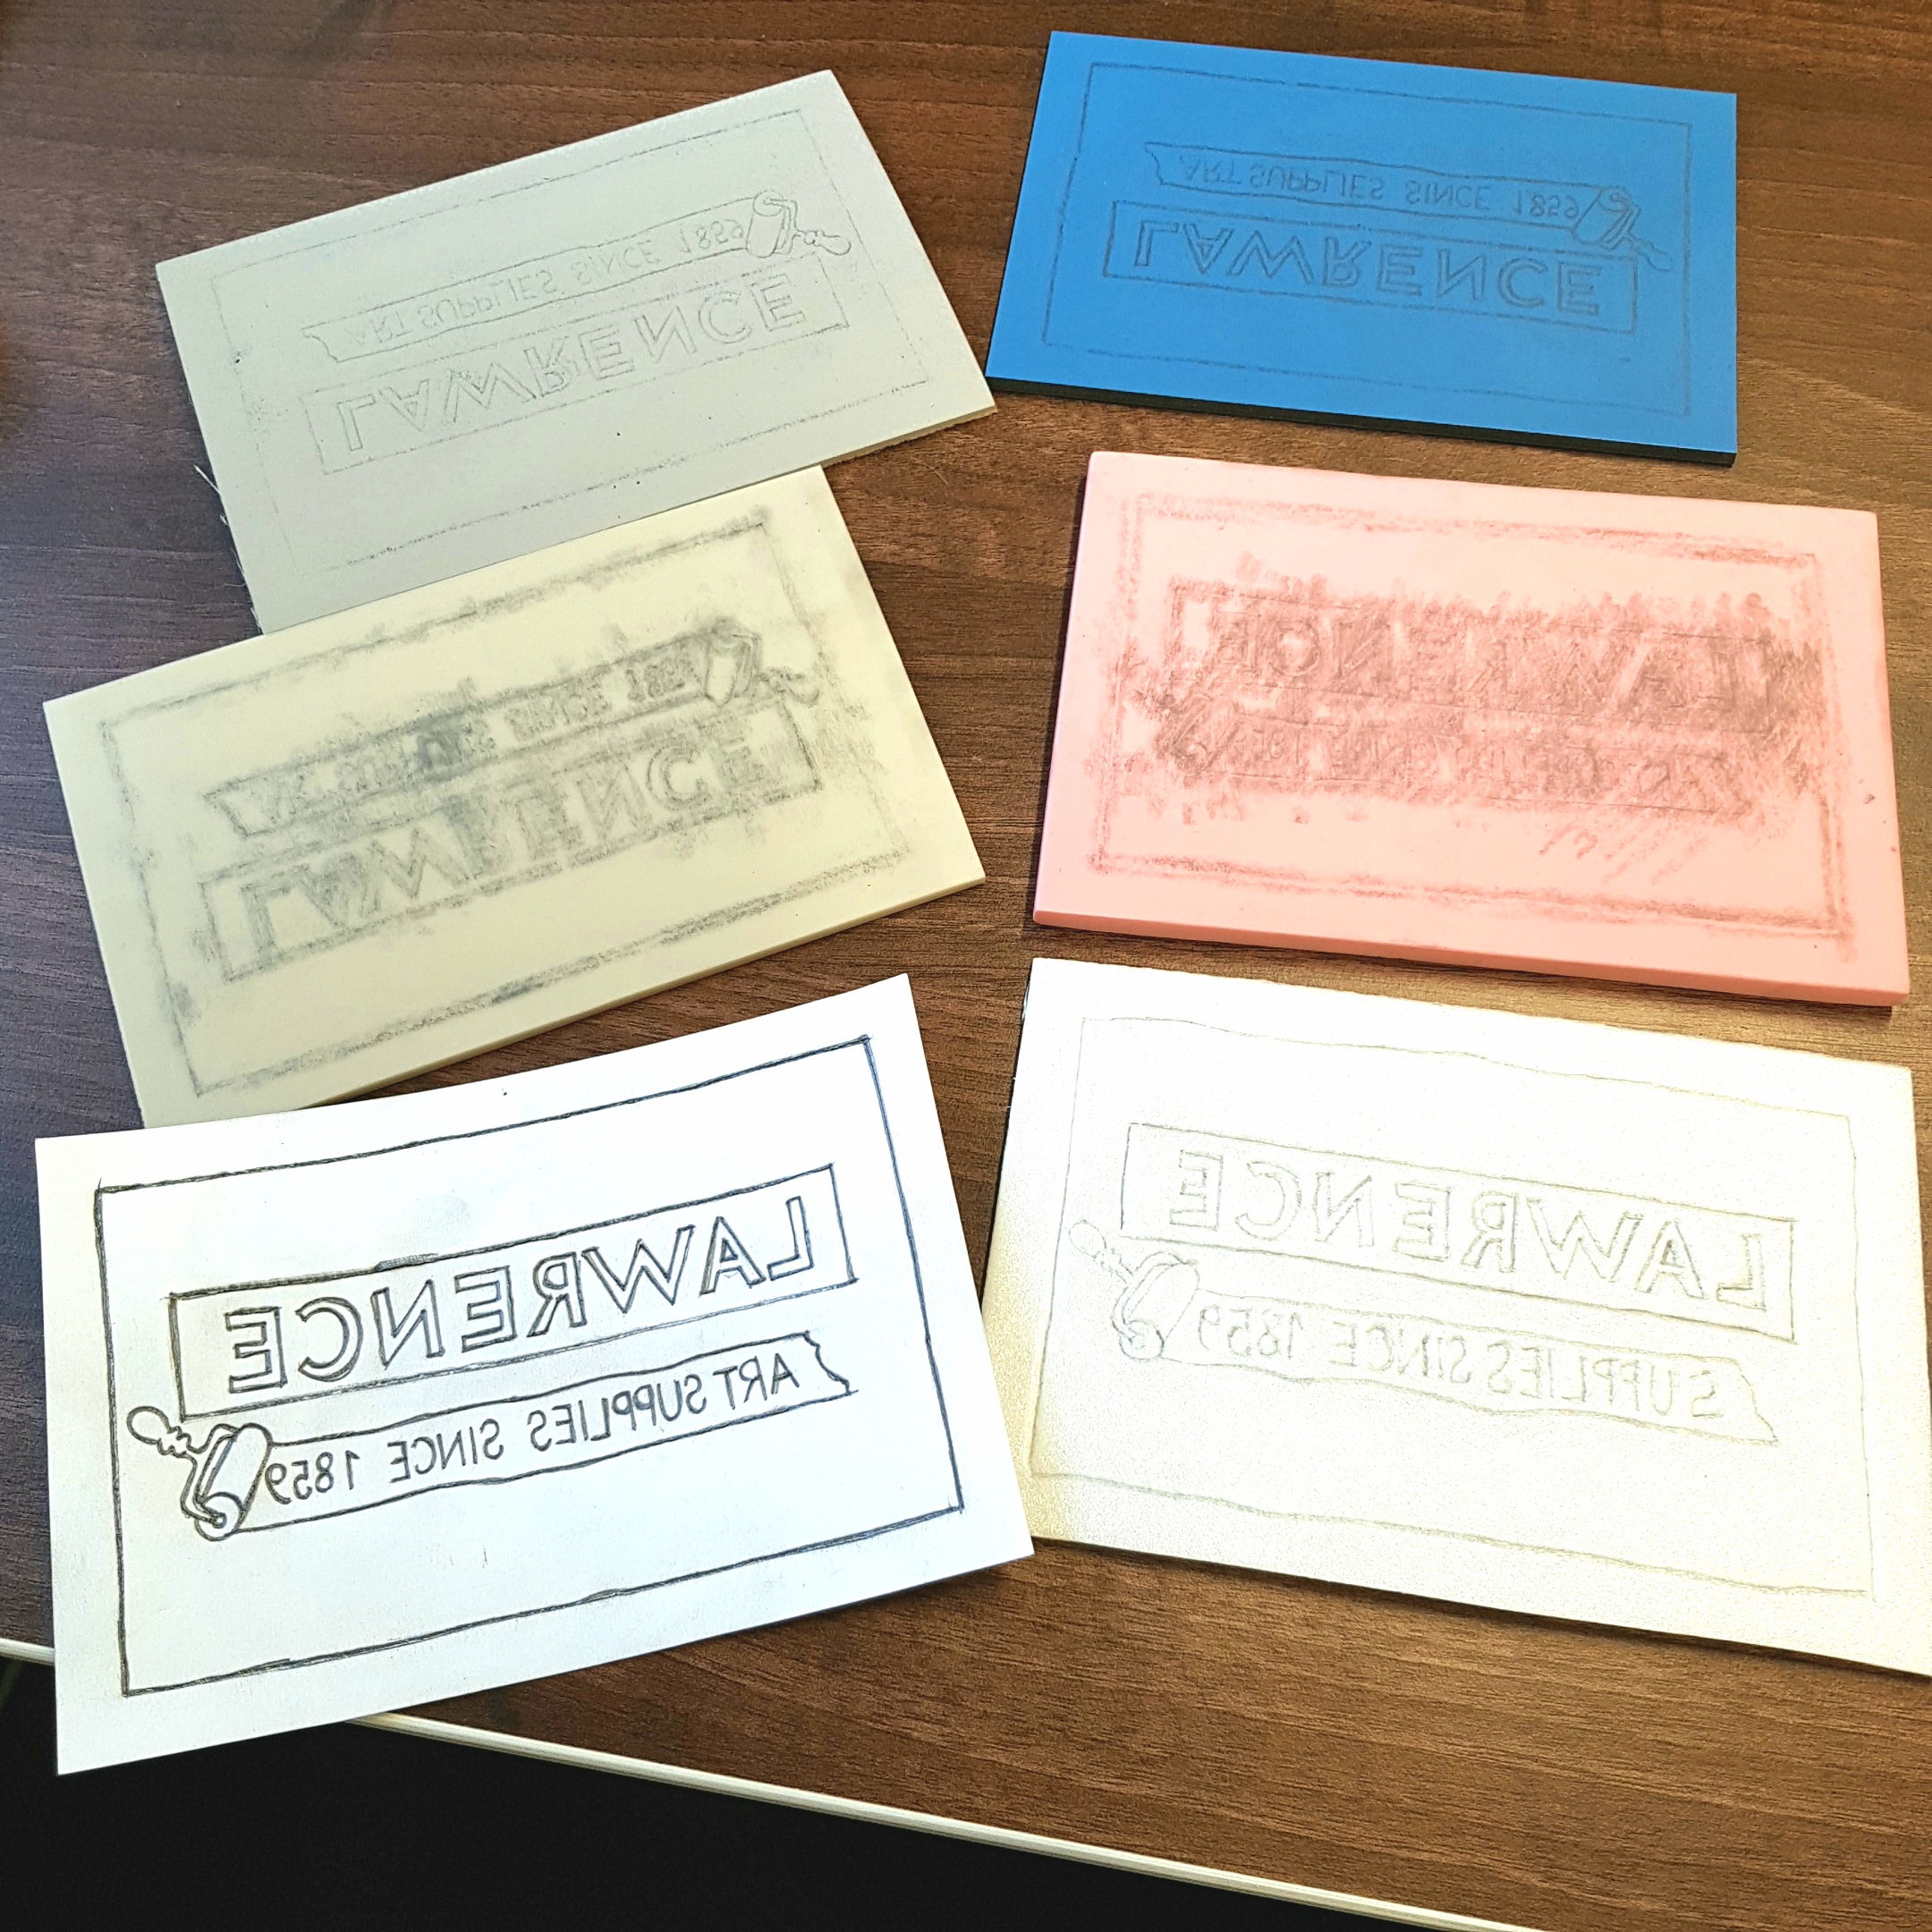
The Results: the image easily transferred onto the vinyl and lino (top row) but it had serious smudging issues with the SoftCut and Speedy-Carve. The image did not transfer at all onto the Quickprint so I ended up tracing through the design with a sharp pencil. Incidentally this meant I finished carving the Quickprint before I even started!
2. Carving the Lino
Lino is the most popular and traditional choice for printmakers so I expected it to perform well in my experiments. One thing to look out for when buying lino is its' freshness. Linoleum is used for other purposes than printmaking (for example flooring) and can be old, hardened and easy to crack, a nightmare for artists! Our stock is always soft, fresh and it smells good compared to blocks made of rubber. This is because lino is plant based, all natural and (depending on your supplier) vegan, so much better for the environment.
My image transferred very nicely and carving felt smooth and quick. In case you are working in a cold environment you can warm up the lino - this will soften it up and make carving easier and reduces the chances of cracking.
I found it a bit difficult to see depth and small details because the surface of the block is the same colour as the inside. This can easily be counteracted by painting the surface with an acrylic colour (use a transparent shade to be able to see your pencil marks underneath), or you can use gesso. Other than that, the small letters came out nicely. Lino is slightly porous so you have to dust it off when you are done and you also have to be careful not to cut too deep or you will come into contact with the back mesh. If the off-cuts can get into the ink they can ruin your design.
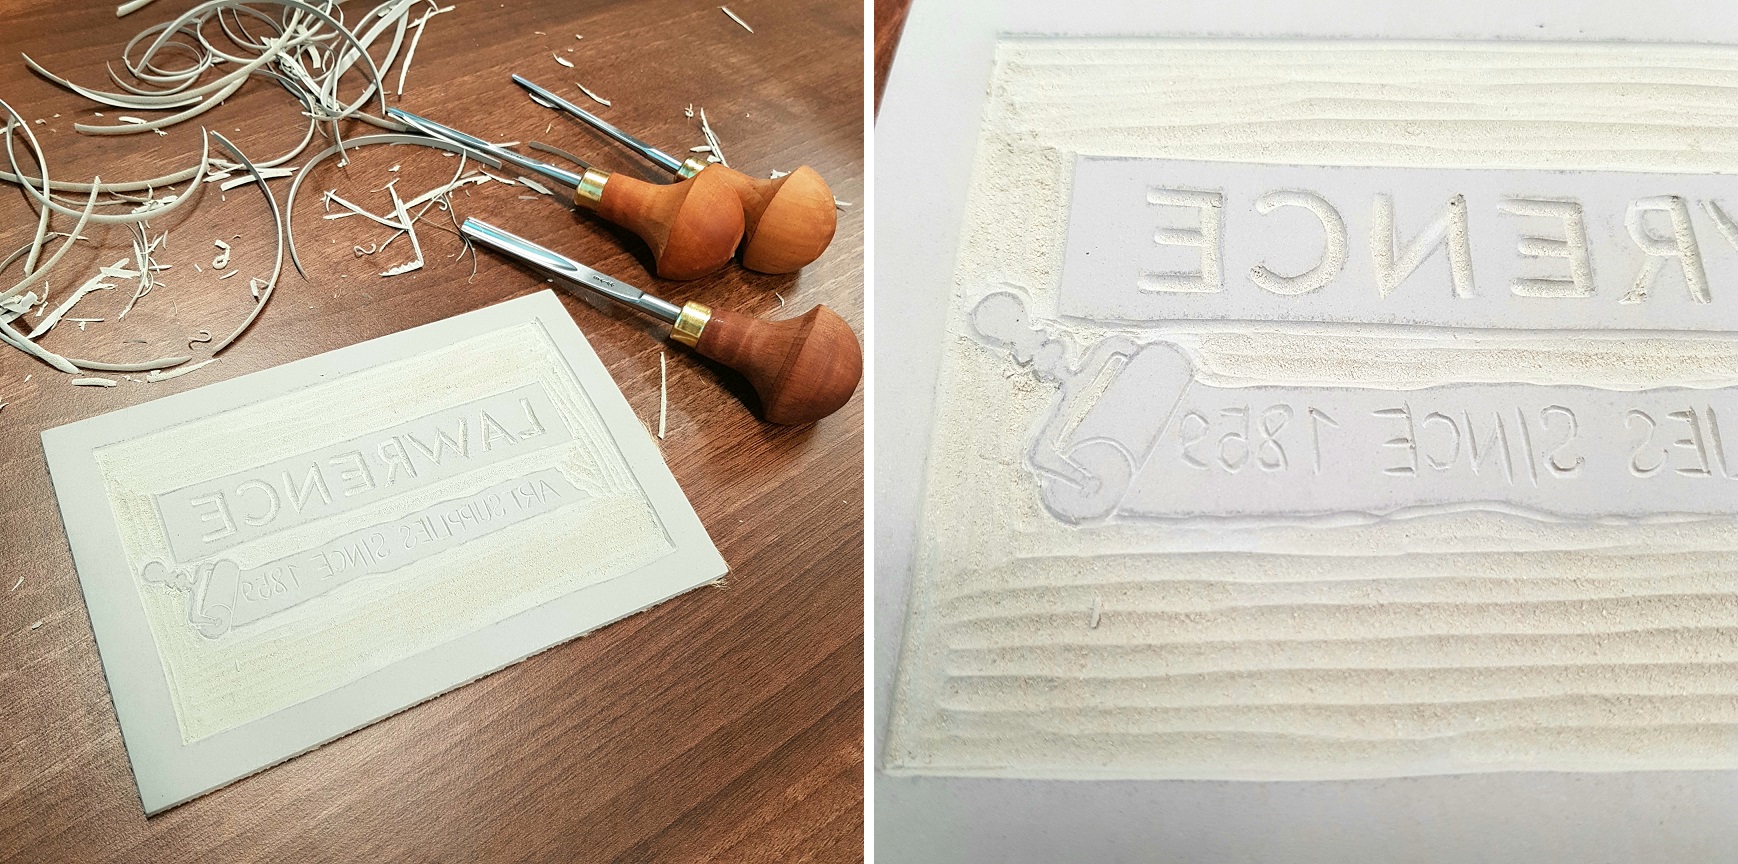
I enjoyed carving the lino and the results were as nice as expected but now I was ready to see what the other blocks had to offer.
3. Carving the Japanese Vinyl
I have tried Japanese vinyl before so I knew I was in for a treat. This is a relatively new material on the UK printmaking scene even though it's been used in Japan for a long time. It is soft and flexible enough to cut with scissors but firm enough to use even as an etching plate! The transfer went well and I carved with ease. I really enjoyed seeing the tool glide just under the surface and reveal the black inner core which made the design pop immediately.
Even the smallest of details and letters turned out pretty well and the two colours allowed me to imagine the finished print much more easily. The core is also harder than the surface so it prevents you from cutting too deep. The only aspect of the vinyl I did not like was its strong rubbery smell which reminded me of car tyres but this is something I am willing to get used to for all its benefits!
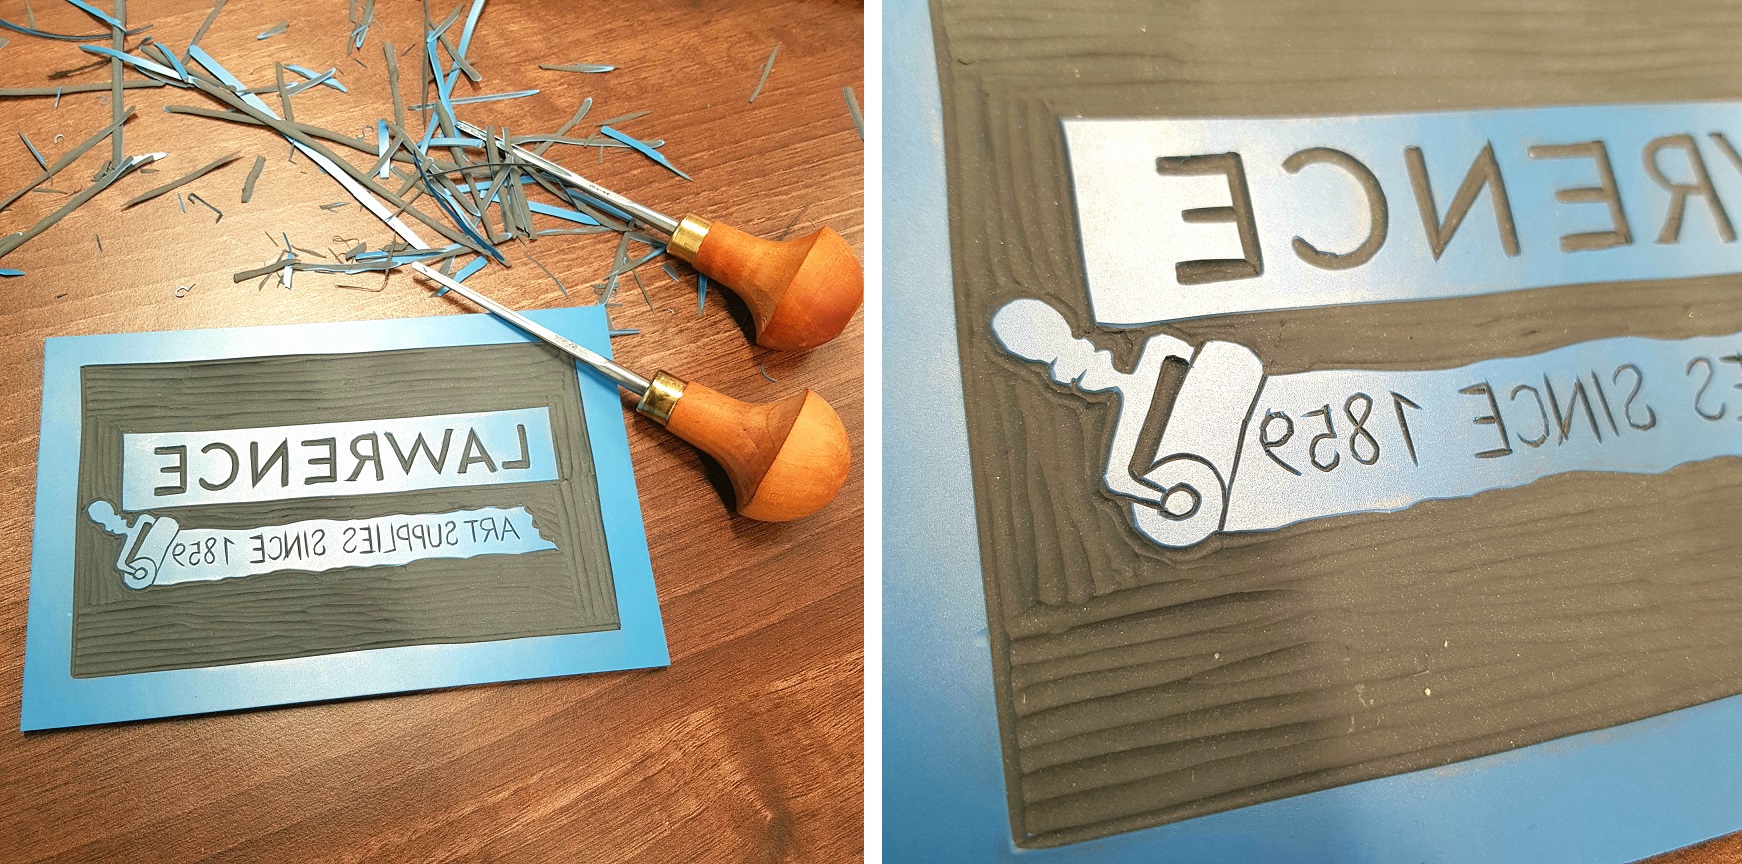
I thoroughly enjoyed carving this block and I found the finished plate 'cleaner' than the lino as this is not a porous surface. I did cut into my fingertip by accident which shows that you should always work with a hand guard and also that the surface can be more slippery than traditional lino so you need to handle it more carefully!
4. Carving the SoftCut
I have never tried this surface before but I knew about it's potential: it is smooth, flexible, semi see-through and softer than the rest of the blocks. I was excited to start carving but I was unhappy with the image transfer. Perhaps you have an easier time if you use proper transfer paper (I hope so) but I ended up re-drawing the image on the block by hand to see the design better whilst I was carving.
Cutting this block felt very similar to carving the vinyl as the tools glided smoothly and quickly, but there were some major differences. The absence of the black core made visibility worse and the softness of the block meant I was cutting a bit deep, almost through it. It did feel less slippery though which made it a bit safer to work with. Once I finished I could flip the block, hold it up to the light and I could see the image coming together. Neat!
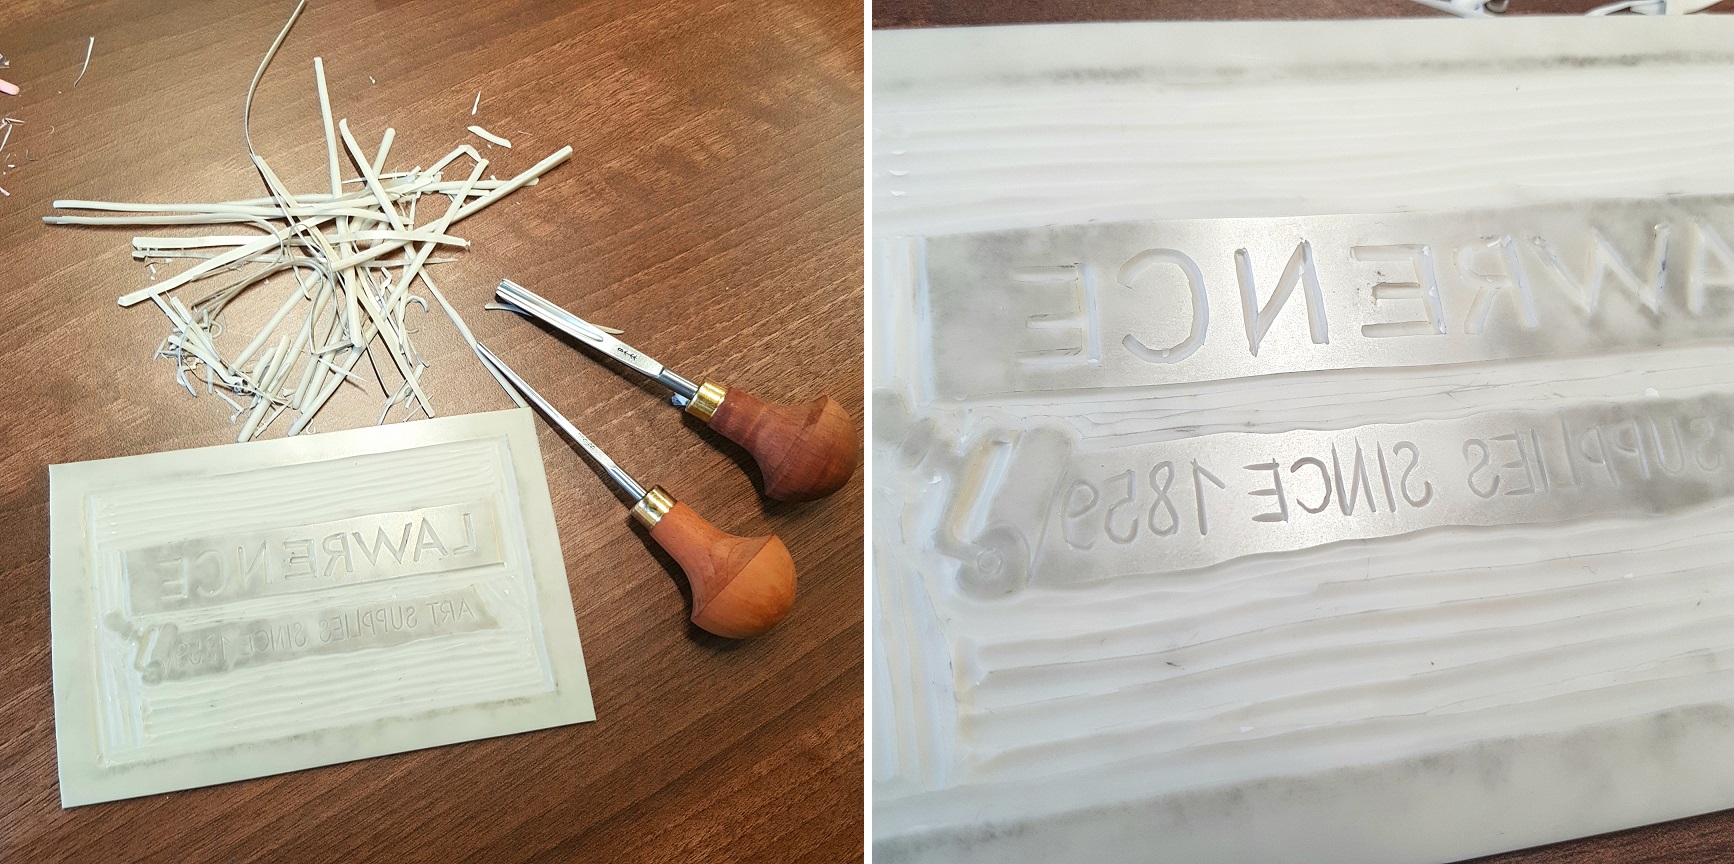
As you can see on the close-up picture, I has having a bit of an issue with precision which was partially a result of the softness of the block. Correcting edges felt harder than both lino and vinyl and my shapes turned out a bit raggedy.
5. Carving the Speedy-Carve Block
This block was much thicker than the others and even softer and spongier than the SoftCut block. The colour is pink - how exciting! I had trouble with transferring the image: the surface was one great smudge! I started with reinforcing my lines before the cutting.
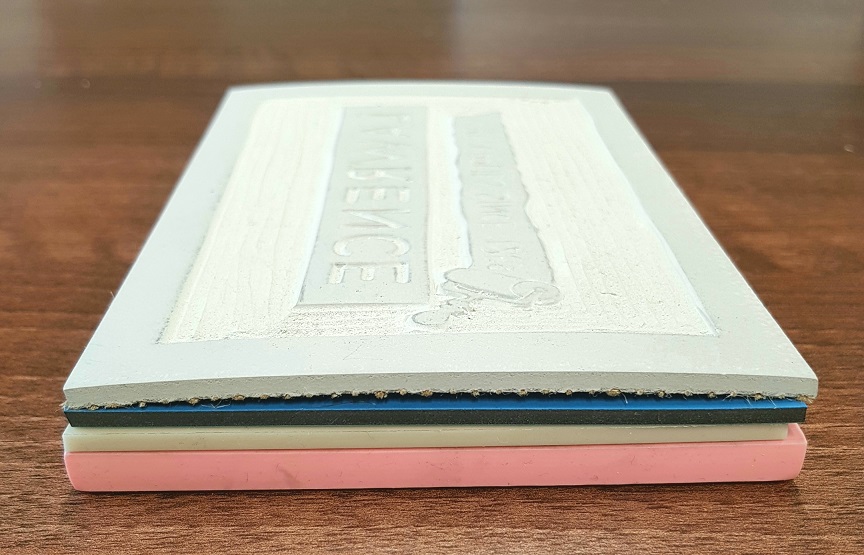
I felt a bit disappointed when I started carving this block. It felt too soft and the tools were burrowing into it so deep that I had to constantly correct my lines. I did not feel it suitable for small detail at all, the letters were misshaped and the small V tool bit a small chunk out of the number 8! I needed a bit more practice for this one I am afraid as I was truly making a mess of it!
Georgia later told me these blocks are excellent for stamps, mounted on wood, so I do feel that my test was pushing it into a category it did not belong to. I think it would suit a design that does not include tiny letters.
6. Quickprint
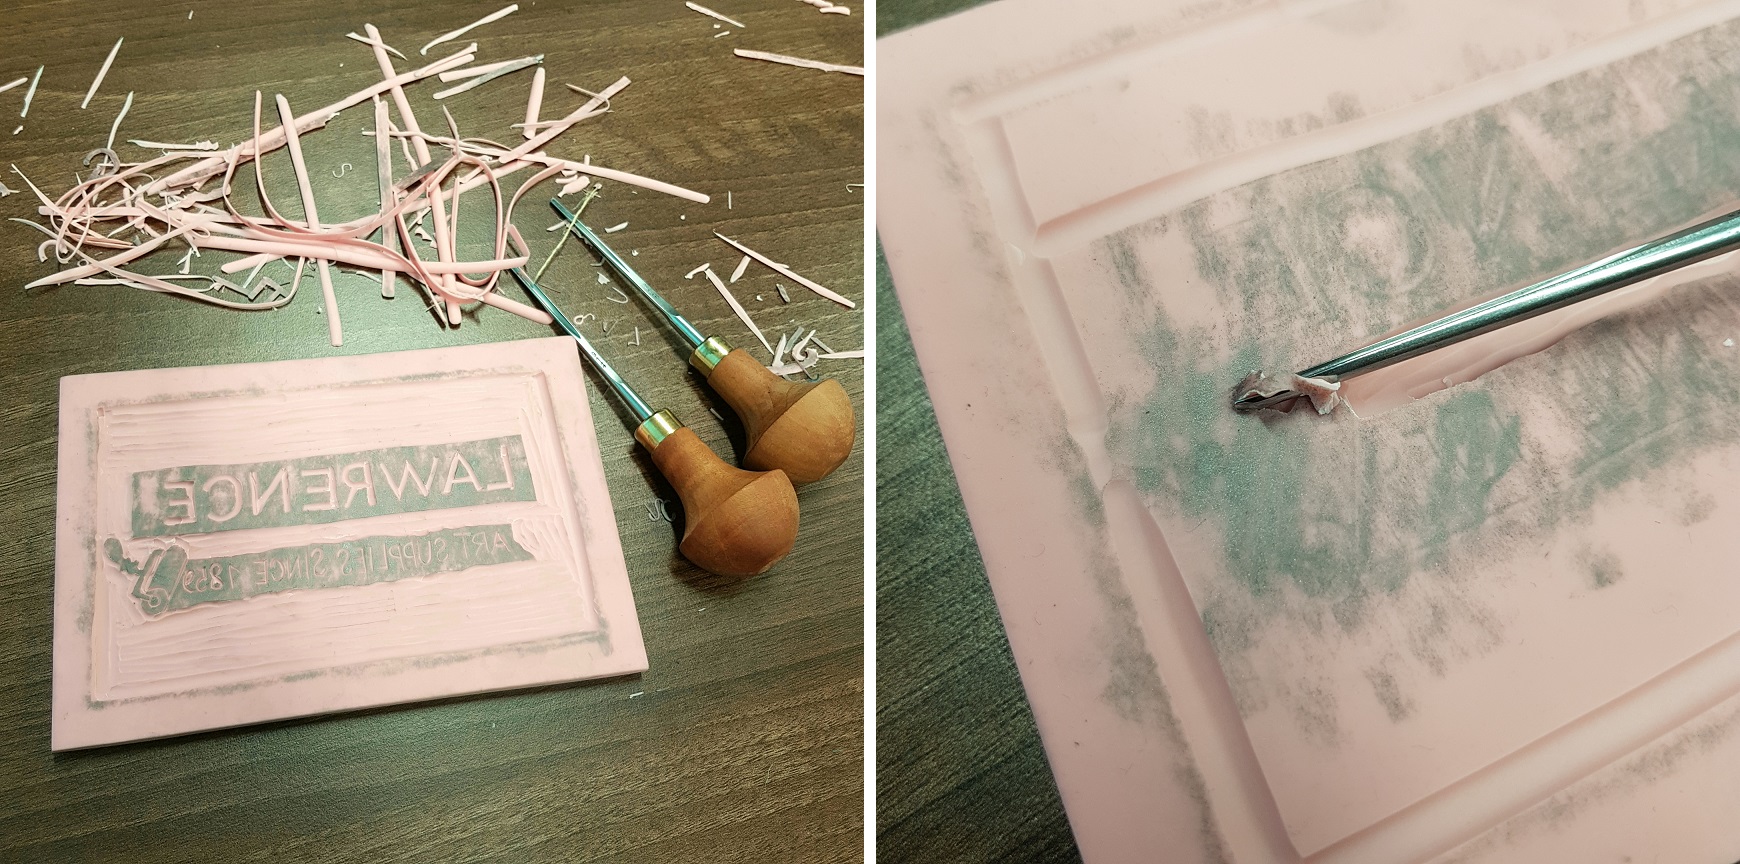
I will include this here because it is a relief surface but it has to be said that Quickprint works completely differently to other surfaces. It is a polystyrene sheet you can draw on (and imprint) with a blunt pencil and other dull tools. You cannot carve into it like with the other blocks. The advantage is that you can use it as an introductory surface for beginners and even for children because it requires no sharp tools.
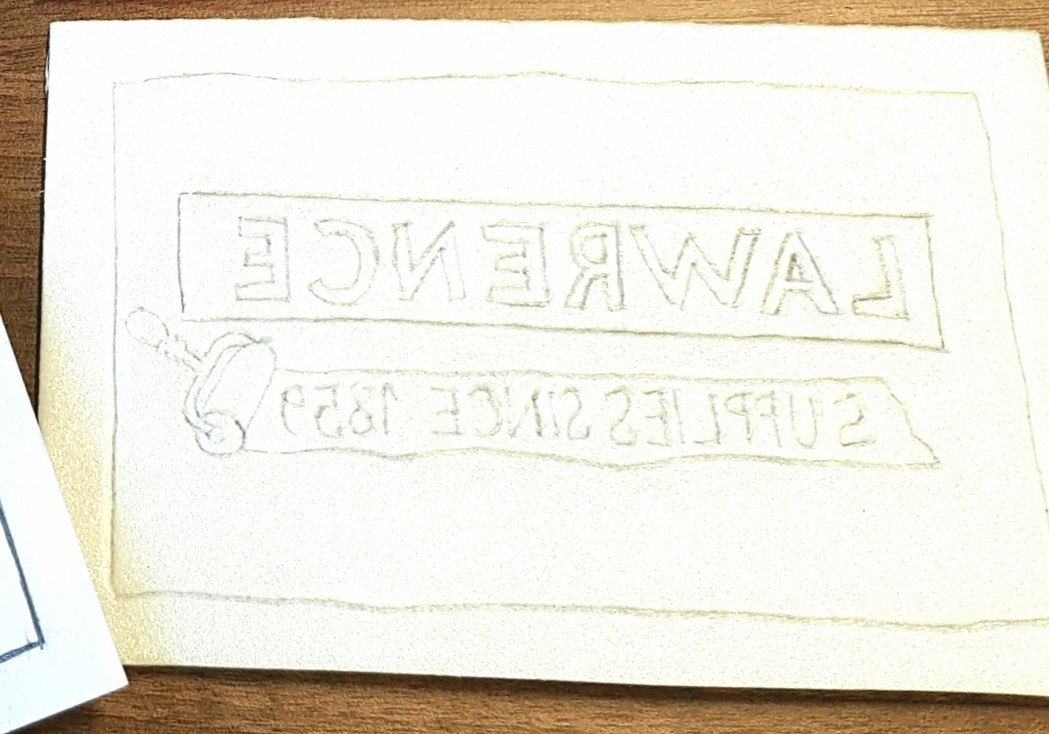
My initial image transfer resulted in deep lines that were pressed into the foam. I did not want to push it too far with trying to block out larger areas. Small details were pretty unforgiving so I ended up partially finishing my small letters and settled on 'Supplies Since' instead of 'Art Supplies Since'.
To see what else I could do with it (and to imagine what children would do) I drew a cat on another sheet, with pencil marks deep enough to leave an impression on the block. It was a really quick process and I only had to be careful with keeping my pencil steady. I was not sure how it would work out when I printed it but I would soon be surprised!
7. At the Studio
I printed the blocks in the Lawrence Art Studio with the help of the Lawrence Printmaking Club and their helpful leader Georgia. The club meets every Wednesday and work on the many aspects of their projects from drawing and cutting to printing with the Tofko Professional Press. This is a truly amazing and inspiring space - full of light and artwork of the community - and I was attracting a bit of interest from people curious about testing the materials.

And here are the 4 lovely blocks I had to print (without the Quickprint this time):
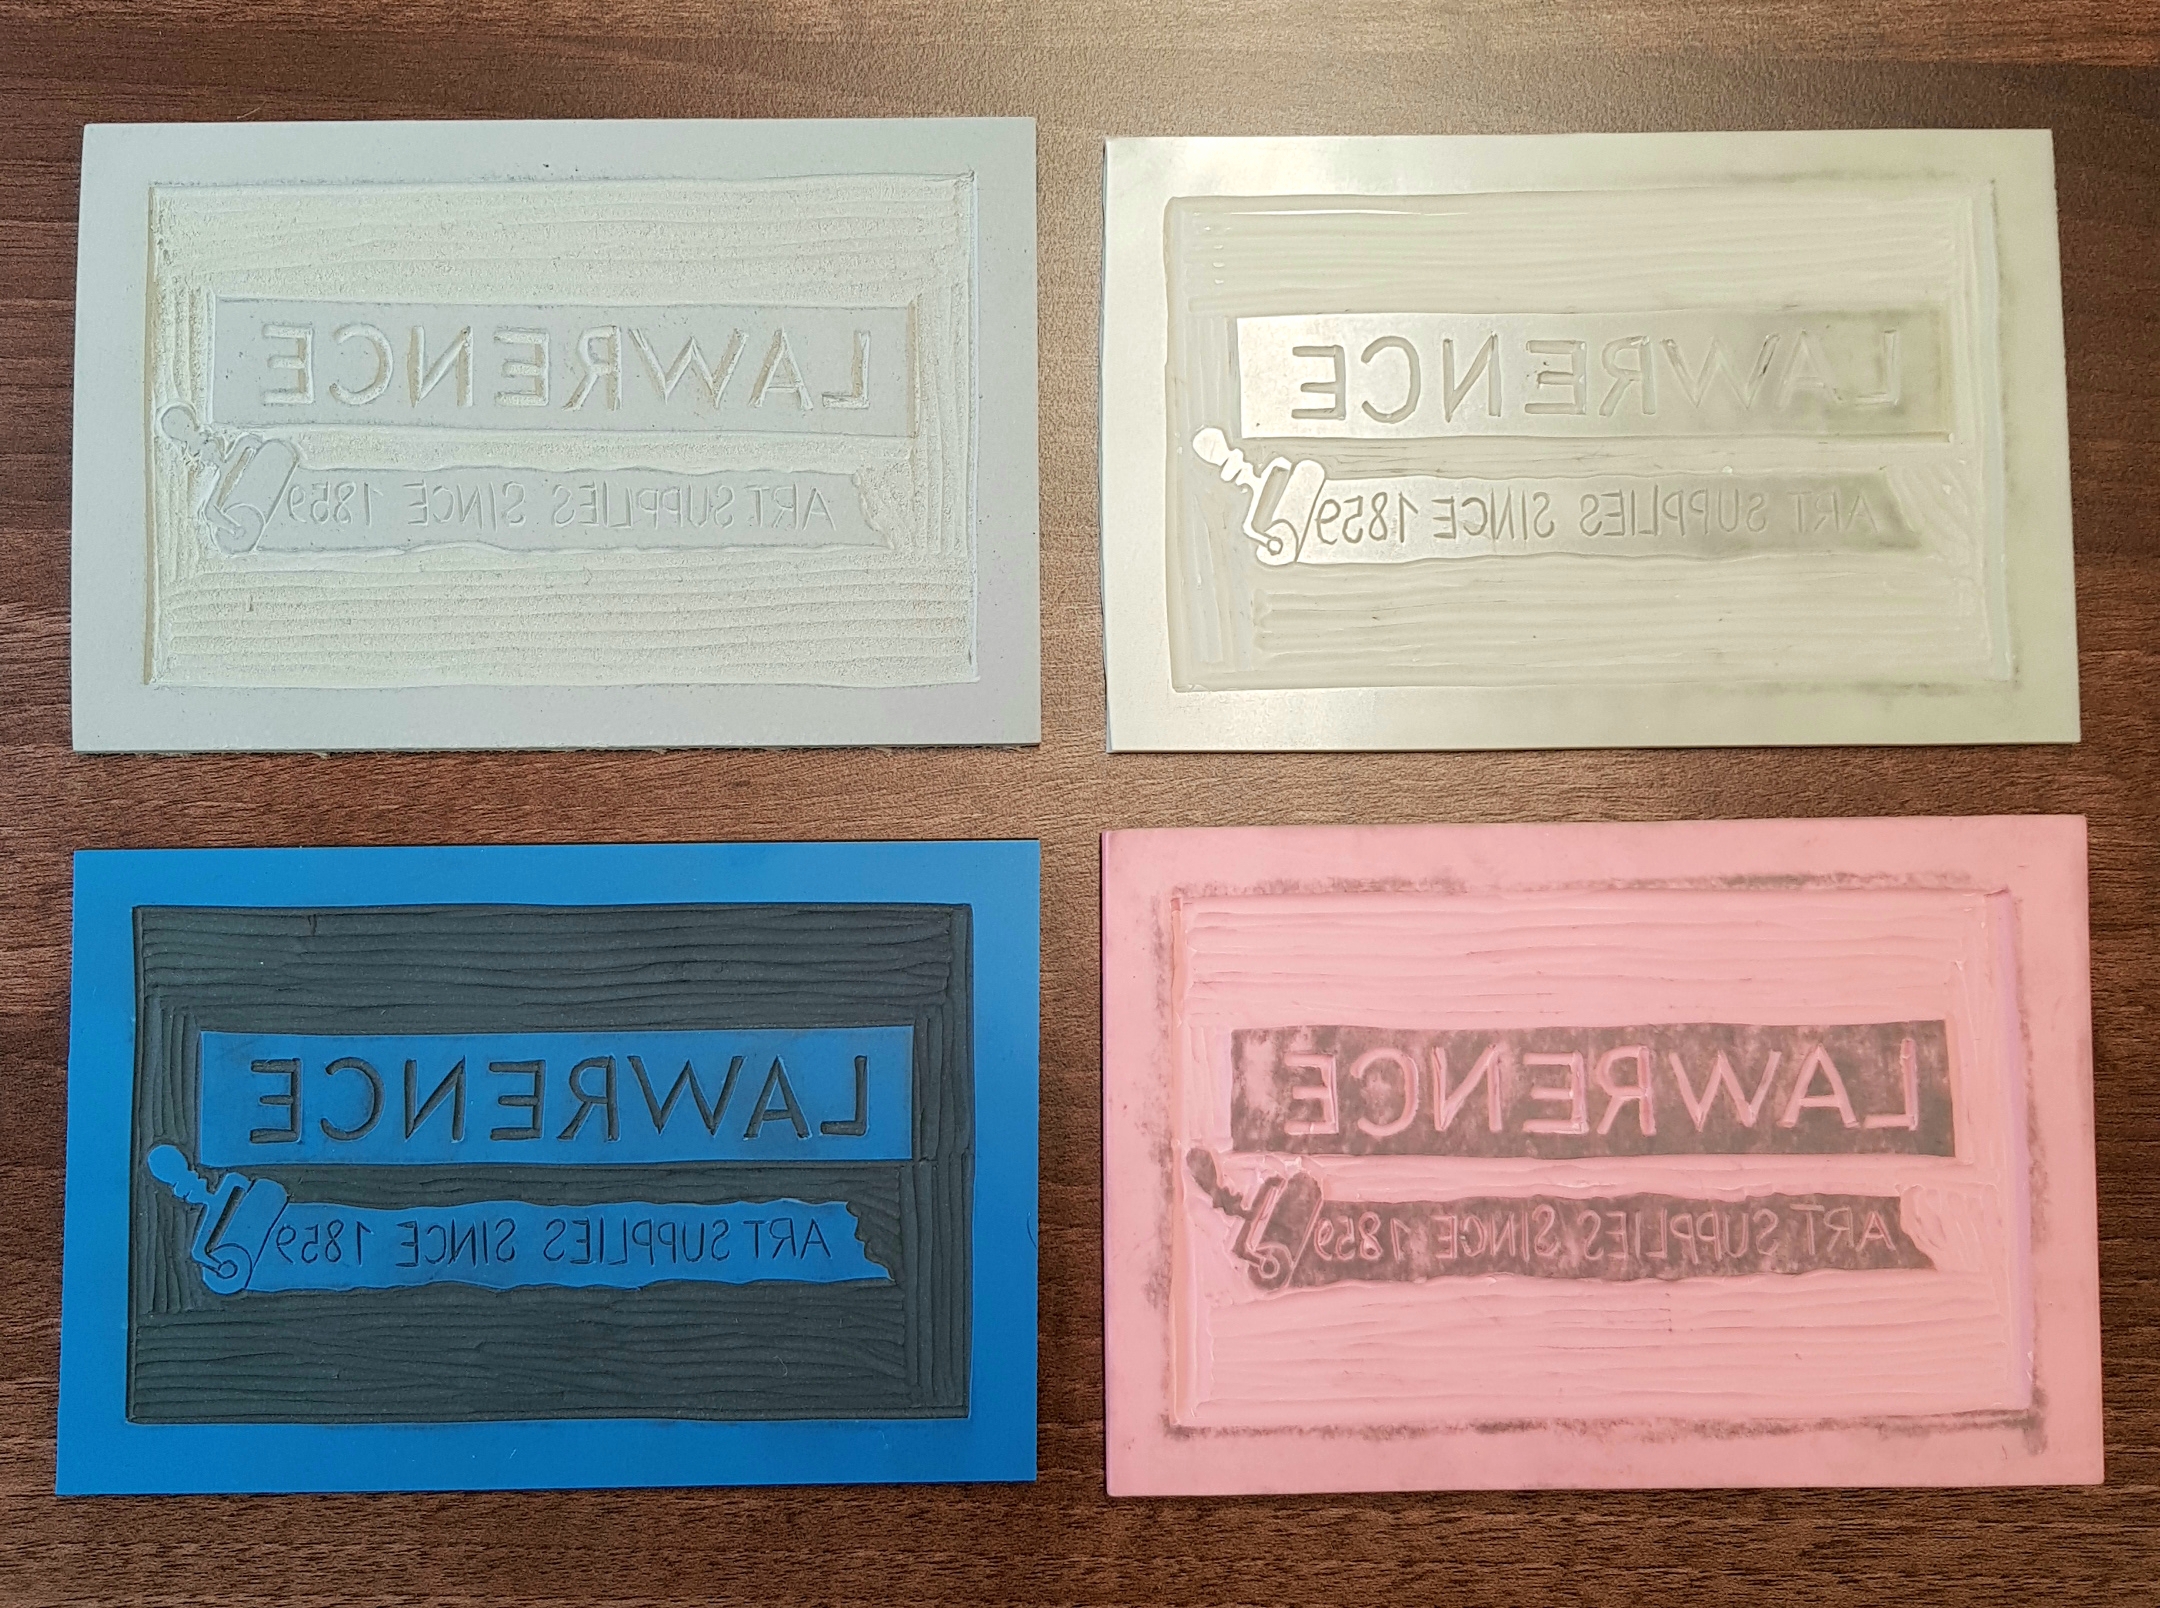
Georgia fired up the inking station with Lawrence GB Water-washable Ink and we started printing with the Tofko Professional Press. Here are the results:
8. Printing the Lino
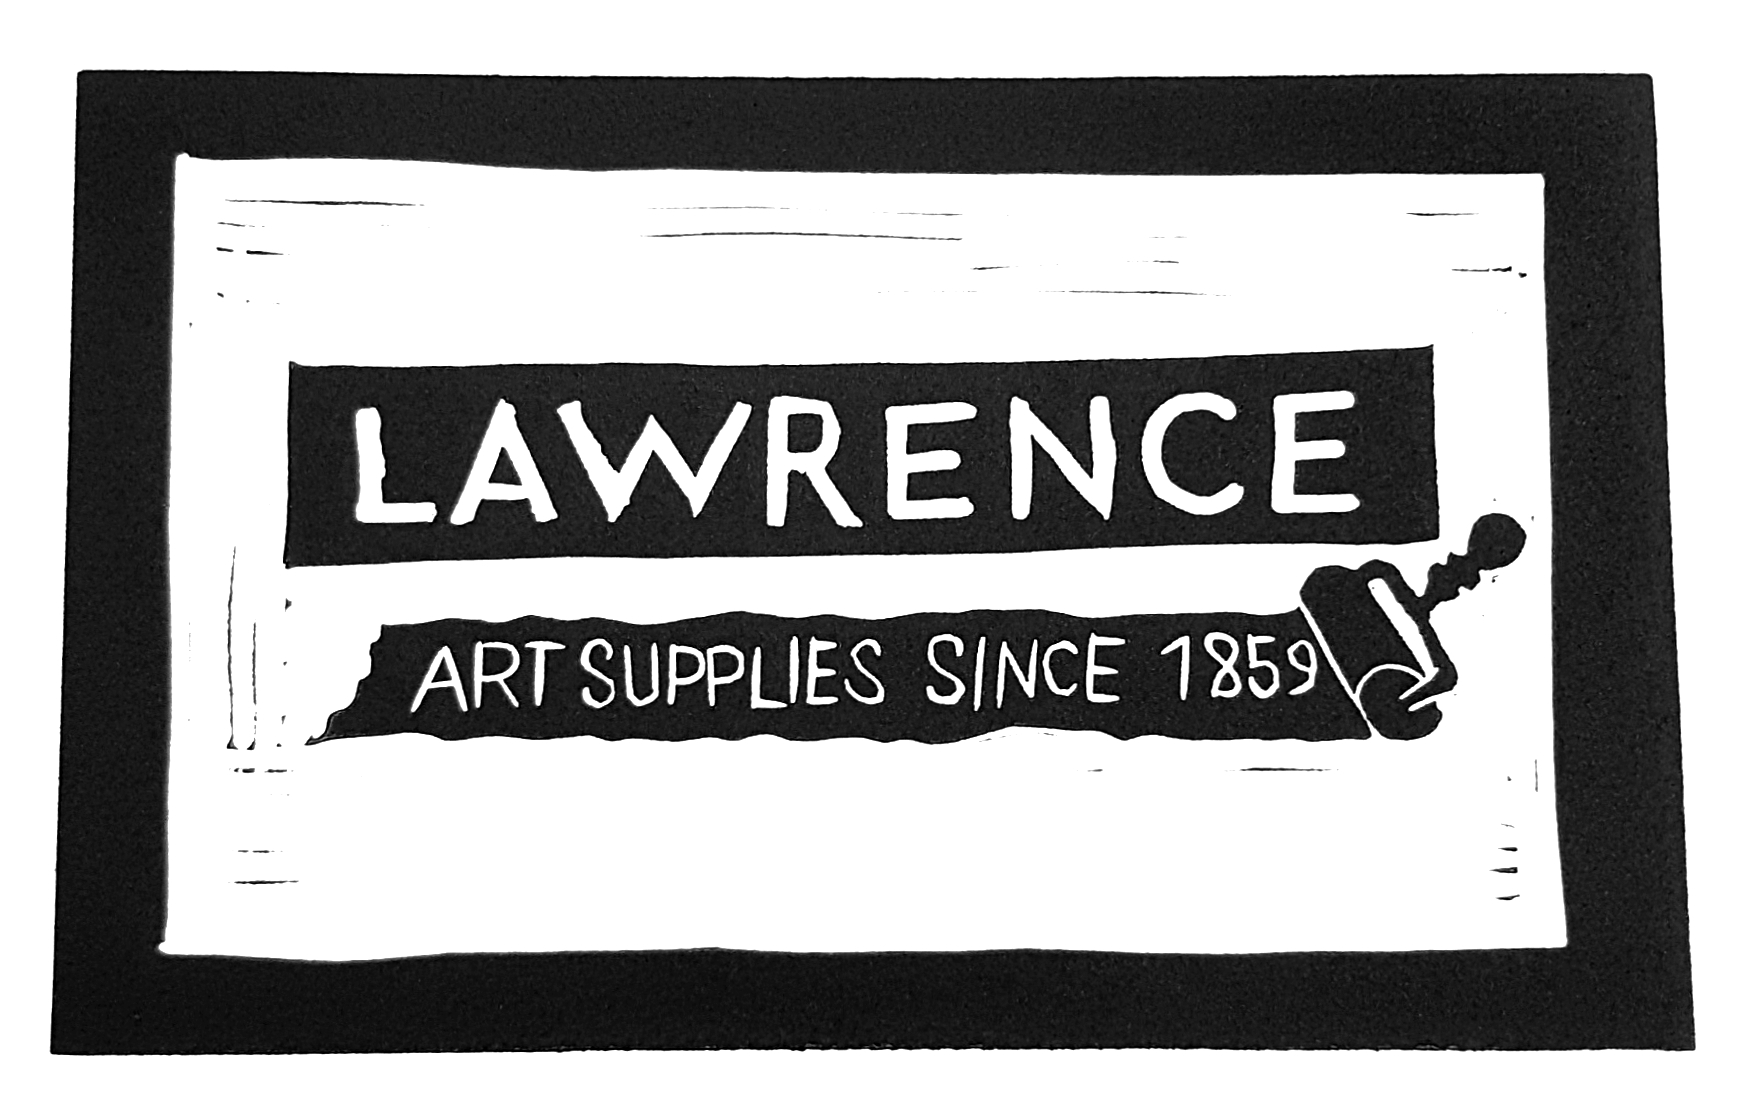
I was really happy with this print, it came out with an even black colour and the small letters stood out very nicely. I would consider painting the surface before carving as the imperfections were largely because I could not see the depth very well. I would 100% recommend this surface to artists and it does stand up to its longstanding reputation for being the go-to surface for relief printmakers.
9. Printing the Vinyl
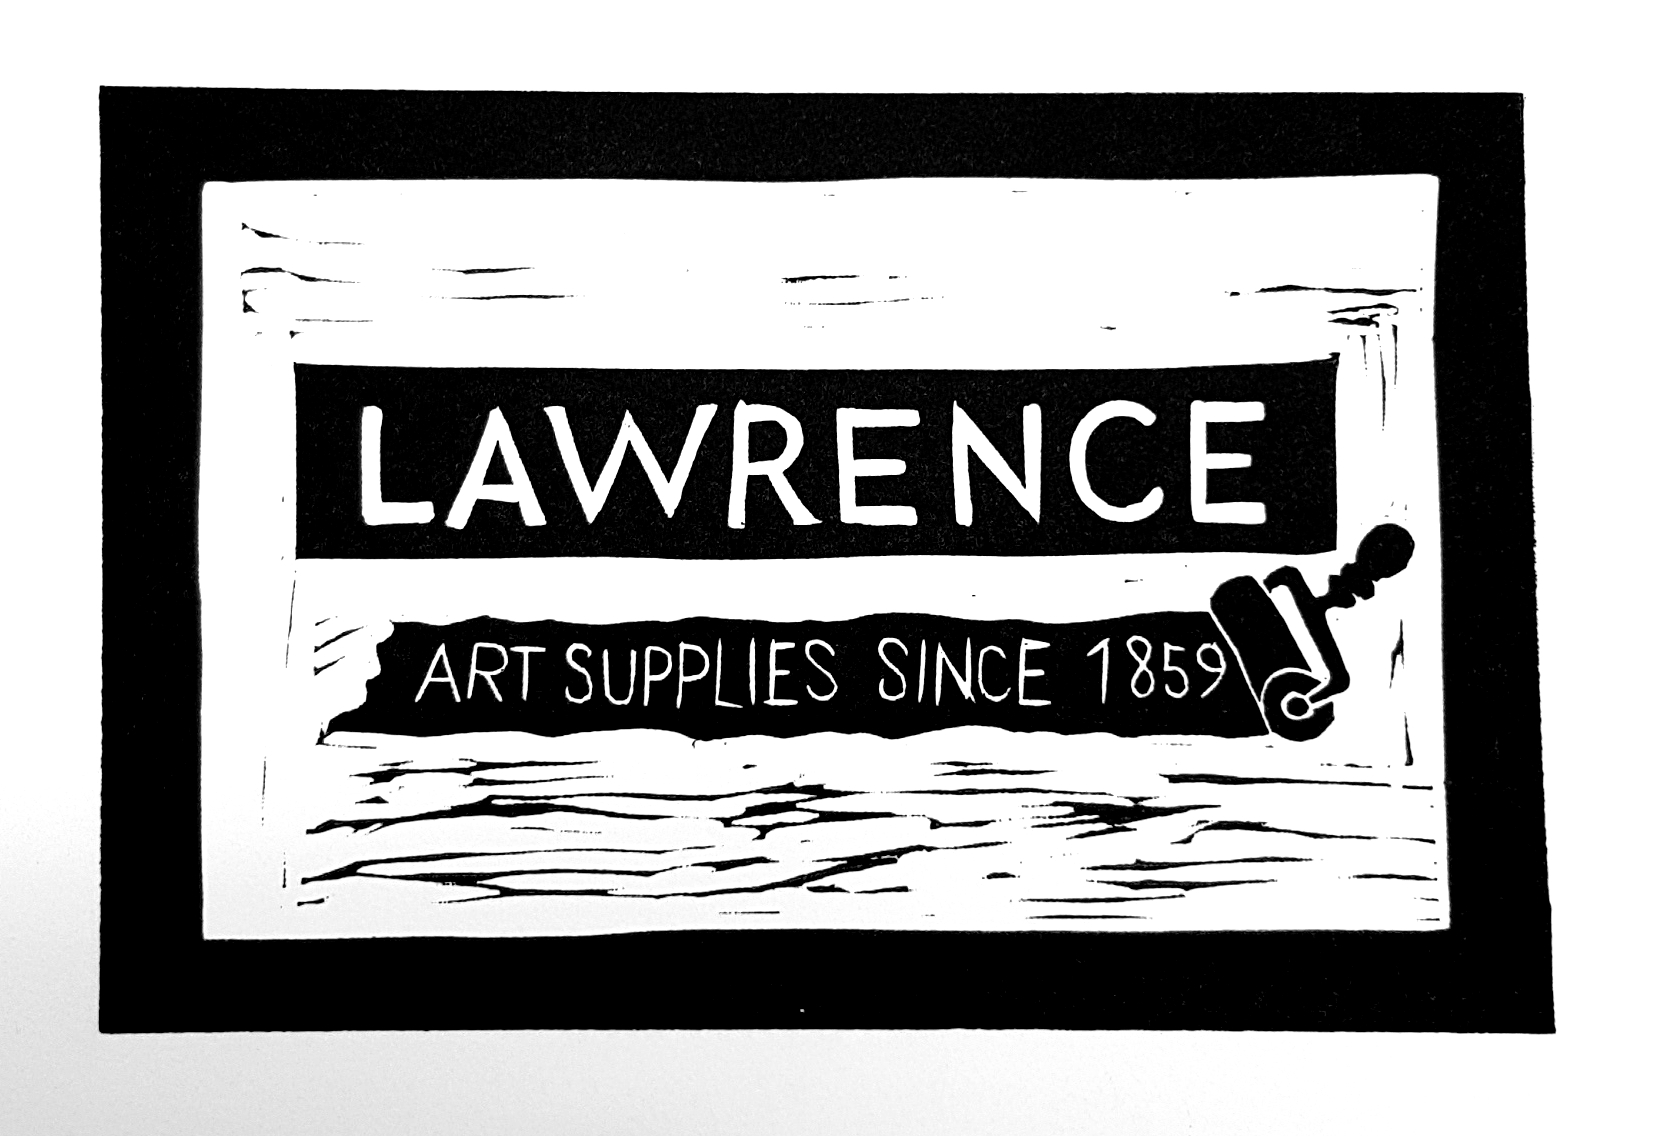
This was my absolute favourite and I was very impressed by the small detail on both the lettering and the tiny roller. The colour is even, the large letters have a nicer edge than what I could achieve on any other surface. I love the stripes too but they resulted from my not cutting away enough of the black core, so it does take some practice to master. Georgia was curious how it would print with hand burnishing and here's what came out:
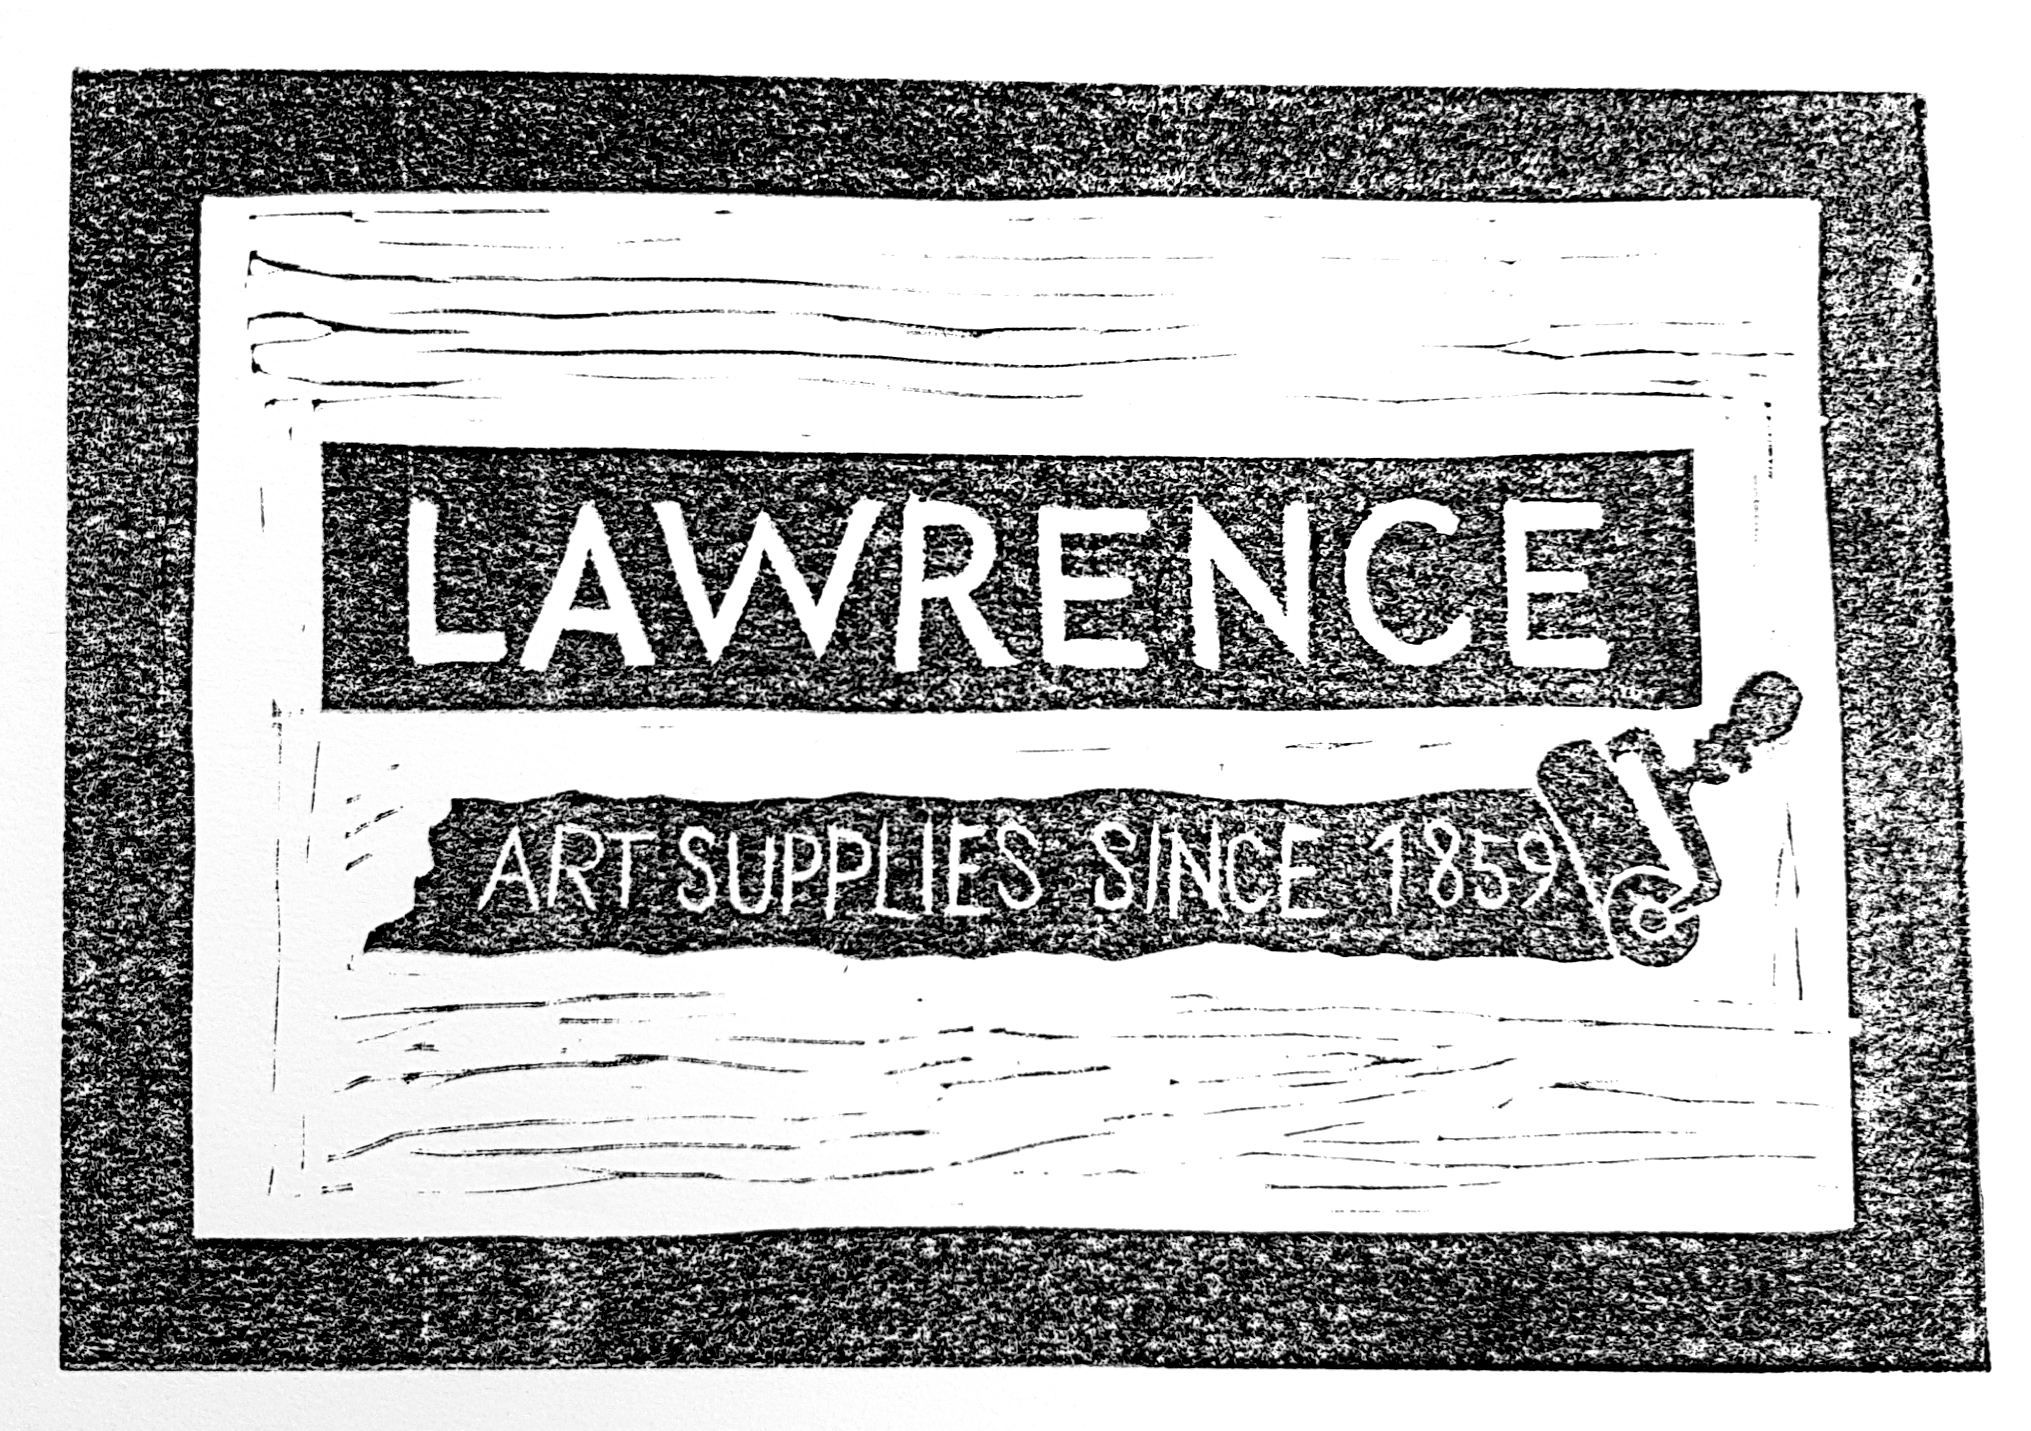
Love the mottled affect and the details are all there. If you are looking for a lino alternative, this would be my best recommendation whether you are using a press or the hand burnishing method.
10. Printing the SoftCut
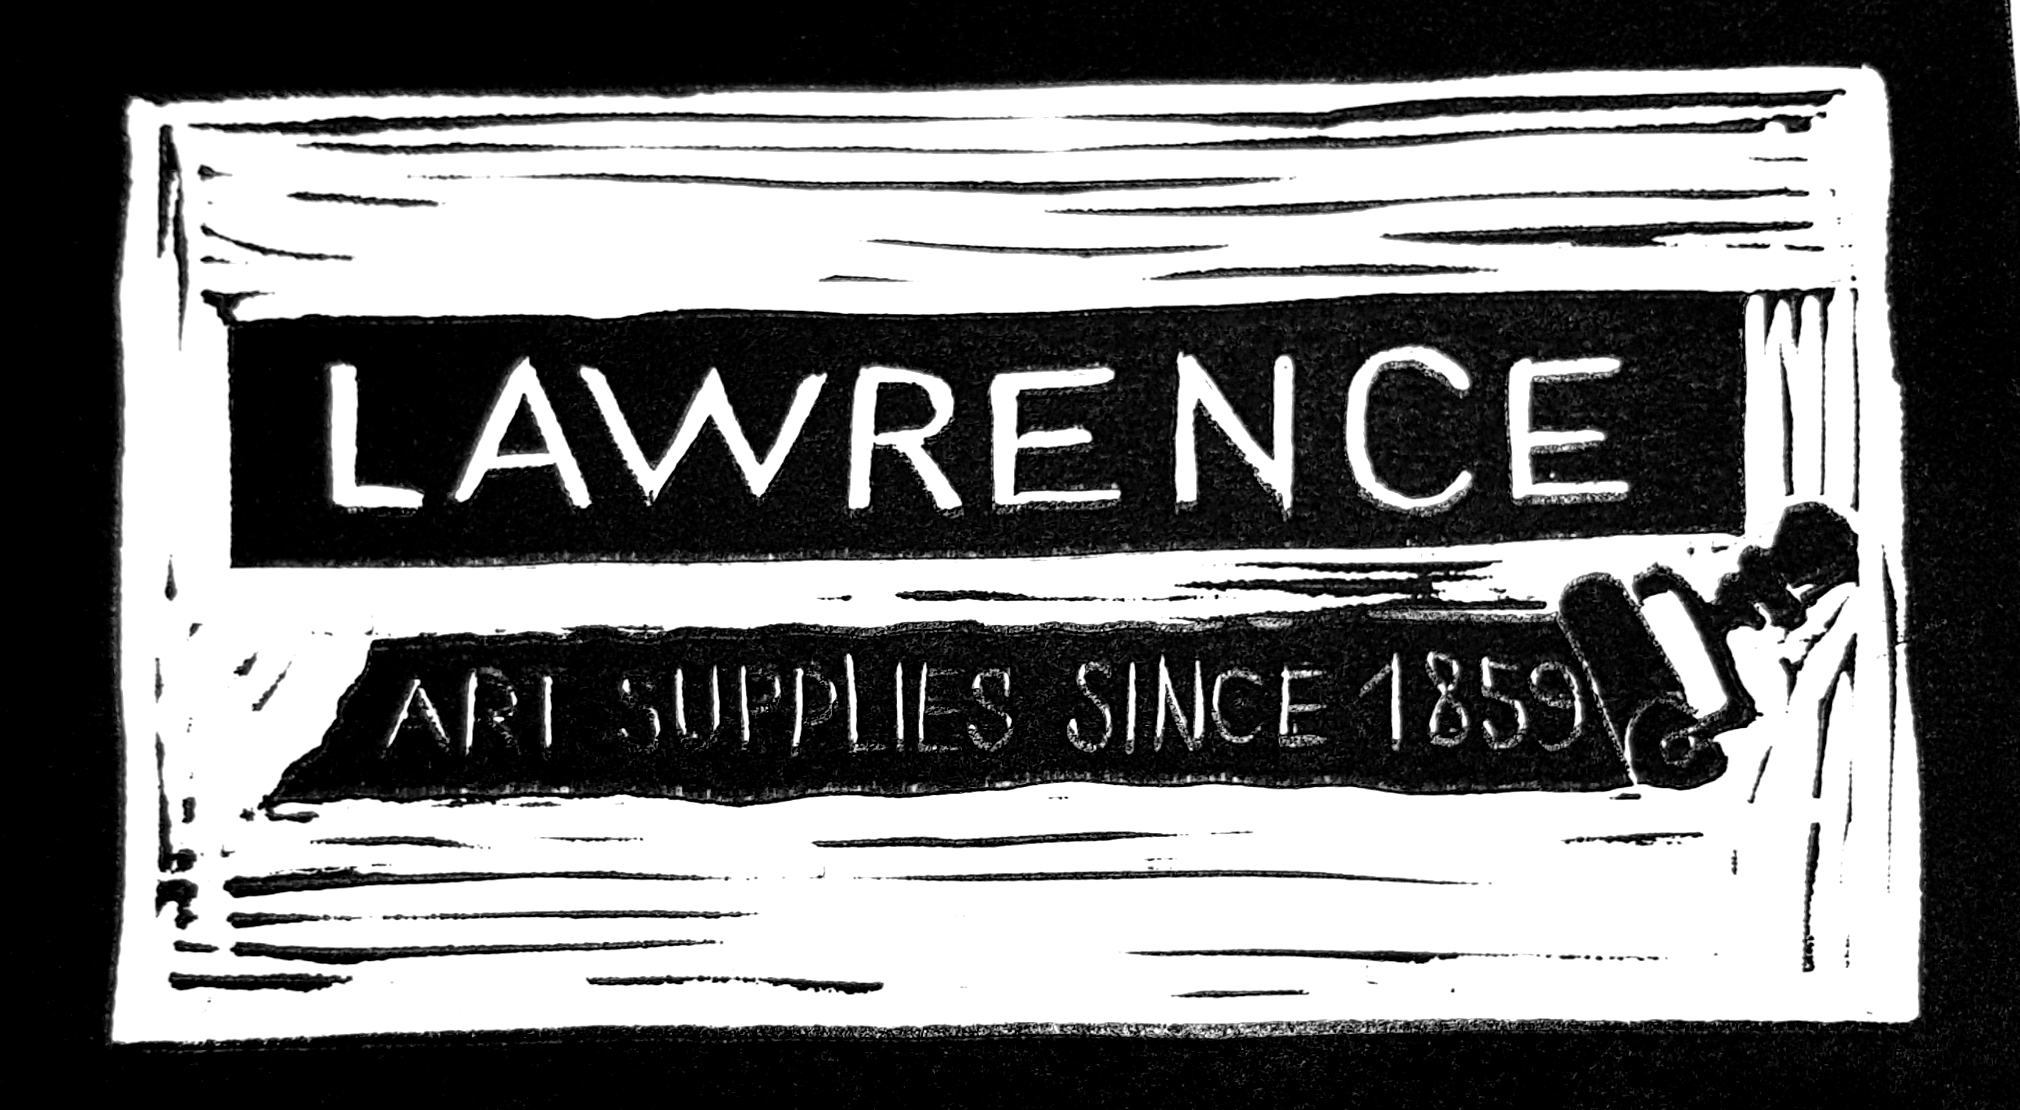
This was a messy one and I was surprised to see the print came out this blurry. Georgia adjusted the pressure on the roll of the press but it did not help much. During the carving process this block behaved much like the vinyl, and I expected similar results. SoftCut proved a bit too soft for the small details and for the printing press and I suspect it would perform much better with hand burnishing. I would also recommend painting the surface before cutting: as you can see I left some areas unfinished around the roller.
11. Printing Speedy-Carve
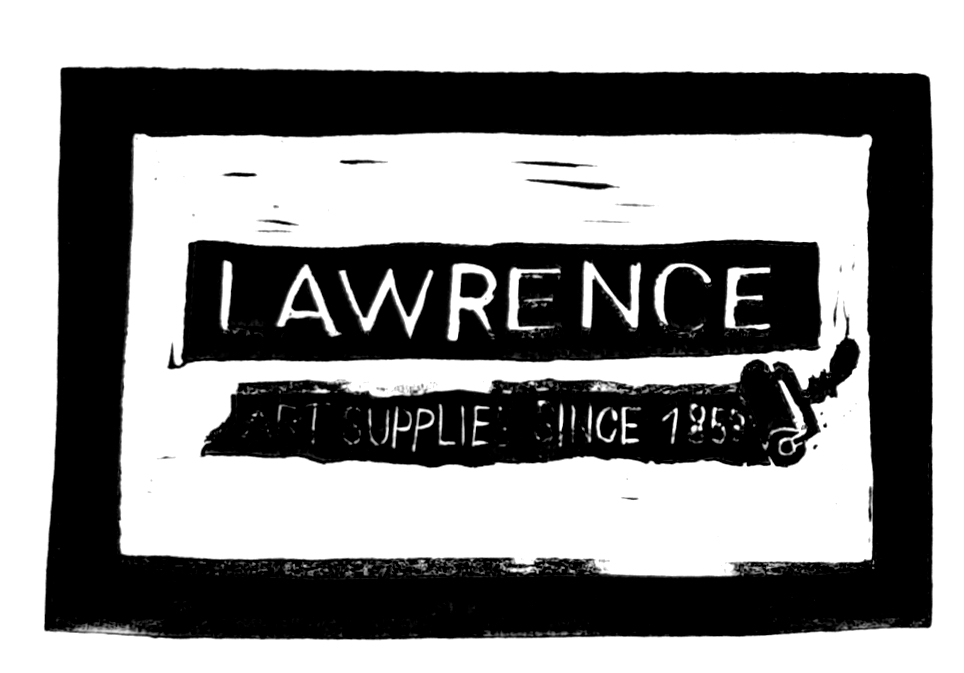
After the SoftCut experiment I wasn't shocked to see the softest block not handling the pressure of the press. Because of its thickness we had to adjust the tightness of the plate but it still seemed to squeeze the block like a sponge and blur much of the lettering. We decided to try hand burnishing to see if it made a difference.
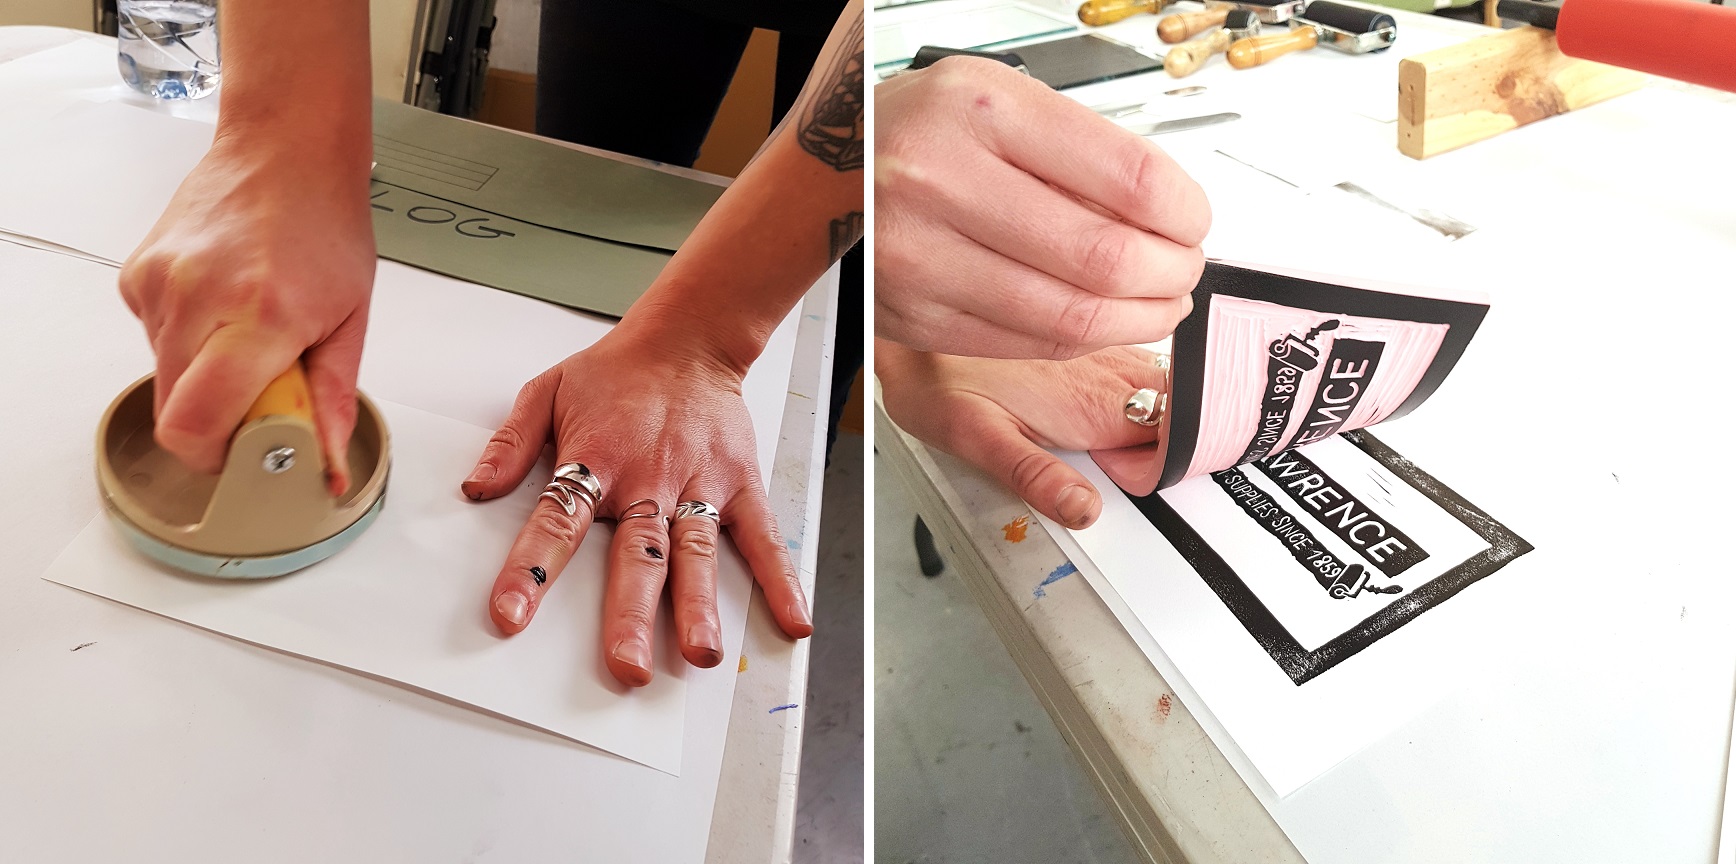
Hand burnishing helped a lot and it shows what this block is capable of when used as a stamp making material. The small letters came out well even though I thought I messed them up during carving.
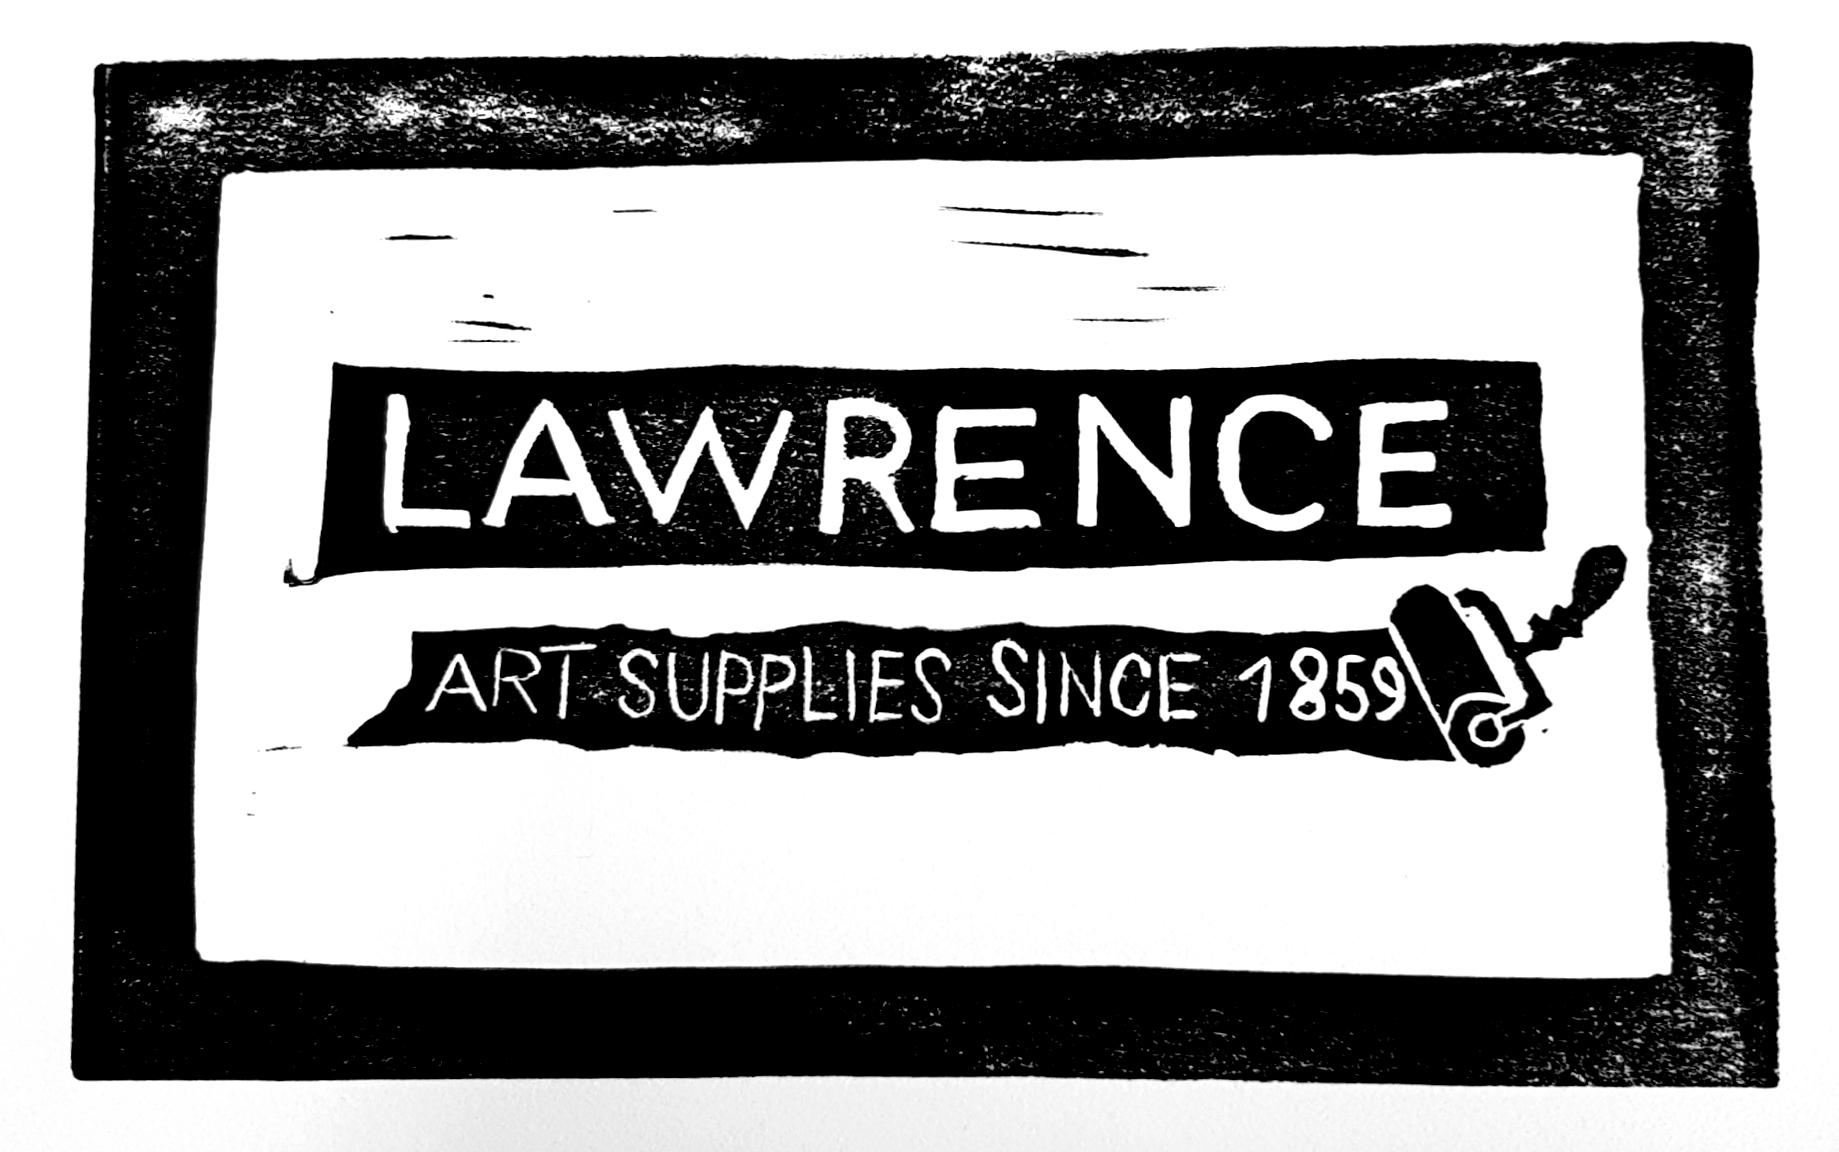
I definitely recommend this as a stamp to be used with hand burnishing and by taking care not to cut too deep which can result in raggedy edges.
12. Printing Quickprint
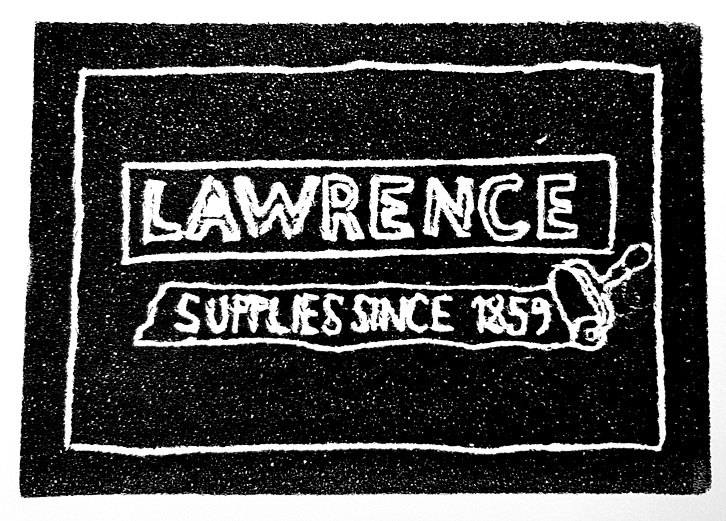
I wasn't holding my breath here as I knew I was asking the sheet something it wasn't intended to do. It didn't come out great but I did like the space-like appearance of the black ink and I was ready to print the cat!
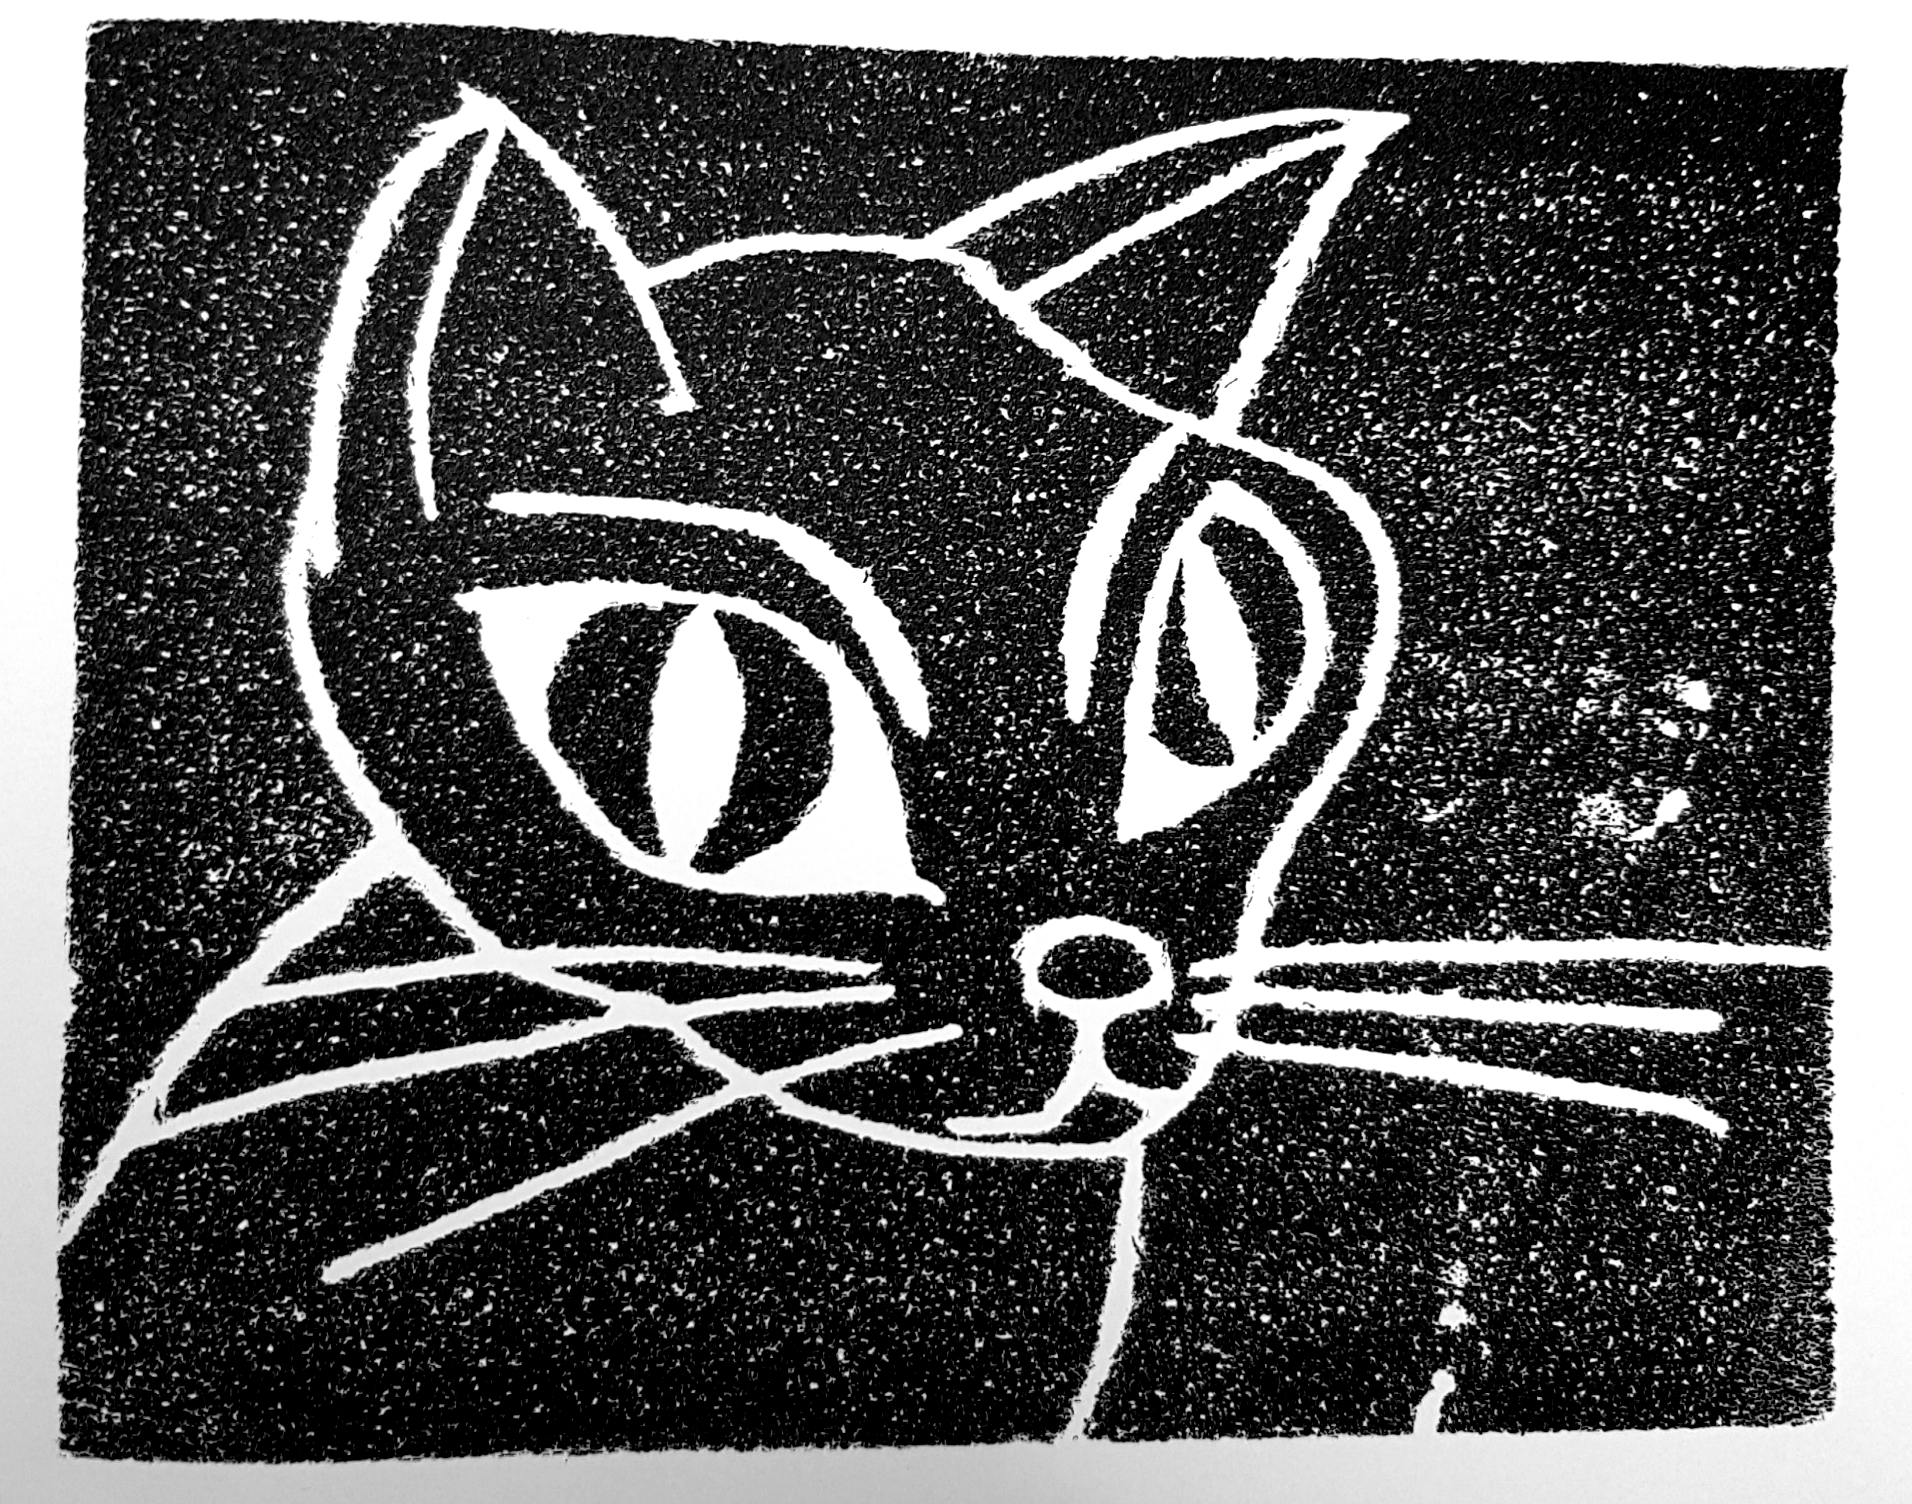
I really liked how this one came out considering that I took about a minute to draw up the design. The Quickprint even handled the press well. I can imagine children having fun with it because it takes very little time and effort to create a finished print but I would not recommend it as an alternative for lino.
13. The Verdict
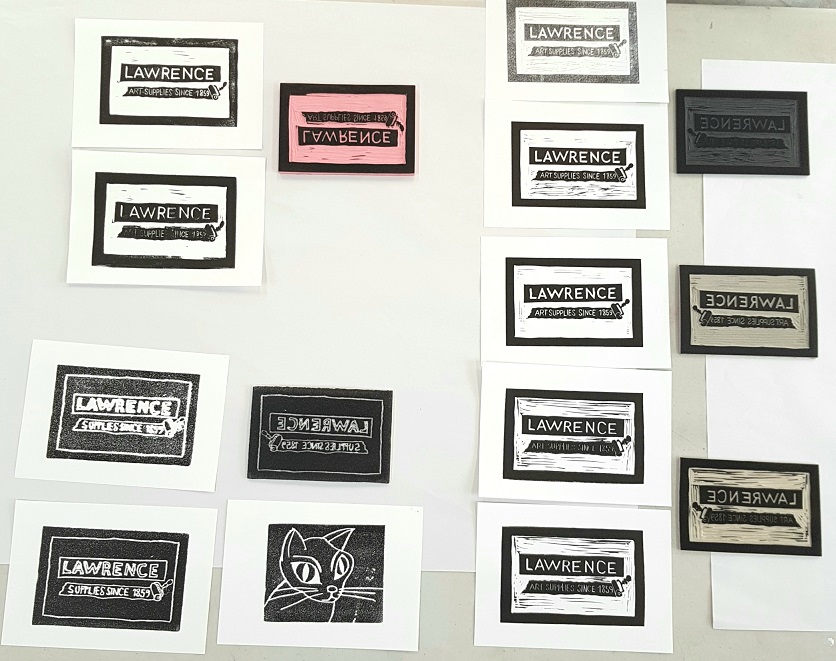
I had the best results with the lino and the vinyl. They both felt nice to carve and printed beautifully. I would recommend the vinyl most because of the increased visibility, but the lino is a close second with it being a more environmentally friendly option. The SoftCut and the Speedy-Carve proved a bit too soft (both while cutting and printing under a press) and I would not use them for very fine detail. If you are looking for a block to hand burnish your prints, these are the surfaces to look out for. Quickprint can be a great surface for children and beginners as it requires no cutting tools and results in a completely unique appearance, however, I would not recommend it for traditional block printers.
We hope you enjoyed this post and it helped you get to know these relief surfaces a bit more! All materials mentioned here can be purchased through our website www.lawrence.co.uk, by calling 01273 260260 ext 1 and in our Hove Shop on Portland Road.


